Food Photography Tips for Beginners
Learn essential food photography techniques including lighting setups, angles, styling, props, and editing to make your food shots stand out.
Food photography has exploded in recent years, driven by social media, food blogging, and video content. If you also shoot recipe videos, our guide to the best cameras for video content creation can help you pick the right body. Whether you are shooting for a restaurant, a blog, or just want better photos of your cooking, the principles are the same. Great food photography comes down to light, angle, styling, and simplicity.
This guide covers the practical techniques that separate appetizing food photos from flat, unappealing ones.
Lighting: The Single Most Important Factor
Nothing affects food photography more than lighting. Professional food photographers obsess over it, and for good reason. The right light makes food look fresh, textured, and three-dimensional. The wrong light makes it look flat, greasy, or unappetizing.
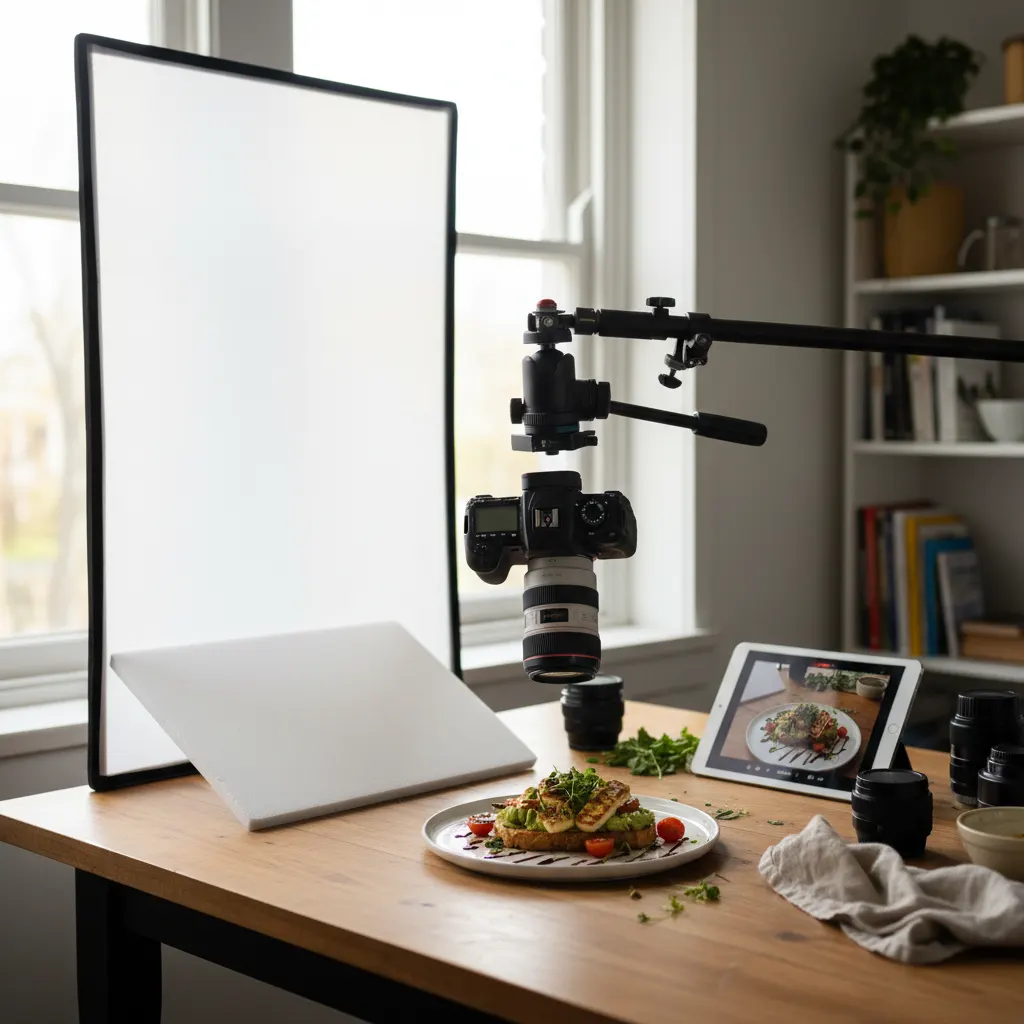
Natural Light Is Your Best Friend
Window light is the gold standard for food photography, especially for beginners. It is soft, directional, and free. Here is how to use it effectively:
- Position your setup near a large window. North-facing windows (in the northern hemisphere) provide consistent, diffused light throughout the day.
- Avoid direct sunlight hitting the food. Hard, direct sun creates harsh shadows and blown-out highlights. Use a white curtain or diffusion panel to soften direct sun.
- Shoot during overcast days when possible. Cloud cover acts as a giant softbox, producing beautifully even, diffused light.
Light Direction Matters
Side lighting (light coming from the left or right) is the most versatile setup for food. It creates texture-revealing shadows on bread crusts, highlights on sauces, and dimension in layered dishes.
Backlighting (light coming from behind the food, toward the camera) is dramatic and works beautifully for drinks, soups, and anything with translucency. Beverages glow, steam becomes visible, and edges get a luminous rim light.
Front lighting (light coming from behind you, hitting the front of the food) flattens everything. Avoid it for food photography.
Using a Reflector
A simple white foam board placed opposite the window bounces light back into the shadow side of your food, reducing contrast. This is the single cheapest tool that will make the biggest difference in your food photos. A piece of white poster board from any craft store works perfectly.
For moodier, darker food photography, use a black card instead to absorb light and deepen shadows.
Choosing the Right Angle
Different dishes look best from different angles. There is no universal “best angle” for food photography, but there are reliable guidelines.
Overhead (90 Degrees)
Shooting directly down from above works for:
- Flat dishes like pizza, salads, grain bowls, and charcuterie boards
- Table scenes with multiple plates
- Anything arranged in a pattern or spread
Use a focal length of 35mm to 50mm for overhead shots to minimize distortion.
45-Degree Angle
This natural “diner’s perspective” works for most foods. It shows both the top and the side of the dish, revealing layers and height. Works well for:
- Burgers, sandwiches, and stacked foods
- Cakes and pastries
- Bowls of soup or noodles
Straight On (0 Degrees)
Shooting at table level emphasizes height and layers. Ideal for:
- Tall drinks and cocktails
- Stacked pancakes or layered cakes
- Burgers with visible layers
How to Decide
Ask yourself: what makes this dish special? If it is the arrangement of toppings, shoot from above. If it is the layers, shoot from the side. If it is both, try the 45-degree angle.
Food Styling Basics
Styling is what separates a snapshot of dinner from a photograph that makes people hungry. You do not need professional training, but a few techniques go a long way.
Cook for the Camera, Not for Eating
Slightly undercook vegetables so they retain bright color. Brush oil on meat for shine. Use a torch to add selective browning. The goal is peak visual appeal at the moment of shooting, not perfect taste.
Build Height and Layers
Flat food is boring food in photos. Stack ingredients, lean crackers against bowls, pile herbs high, drizzle sauces from above so they cascade down the sides.
Use Odd Numbers
Three cookies looks better than four. Five cherry tomatoes looks better than six. Odd numbers create visual tension and feel more natural than even arrangements.
Add “Imperfection”
A few crumbs scattered around a slice of cake, a drip of sauce on the plate rim, a slightly torn piece of bread. These deliberate imperfections make food look real, fresh, and just-prepared rather than sterile and staged.
Fresh Herbs and Garnishes
A scattering of fresh herbs (basil, cilantro, microgreens) adds color contrast, texture, and a sense of freshness. Use them as finishing touches after everything else is composed.
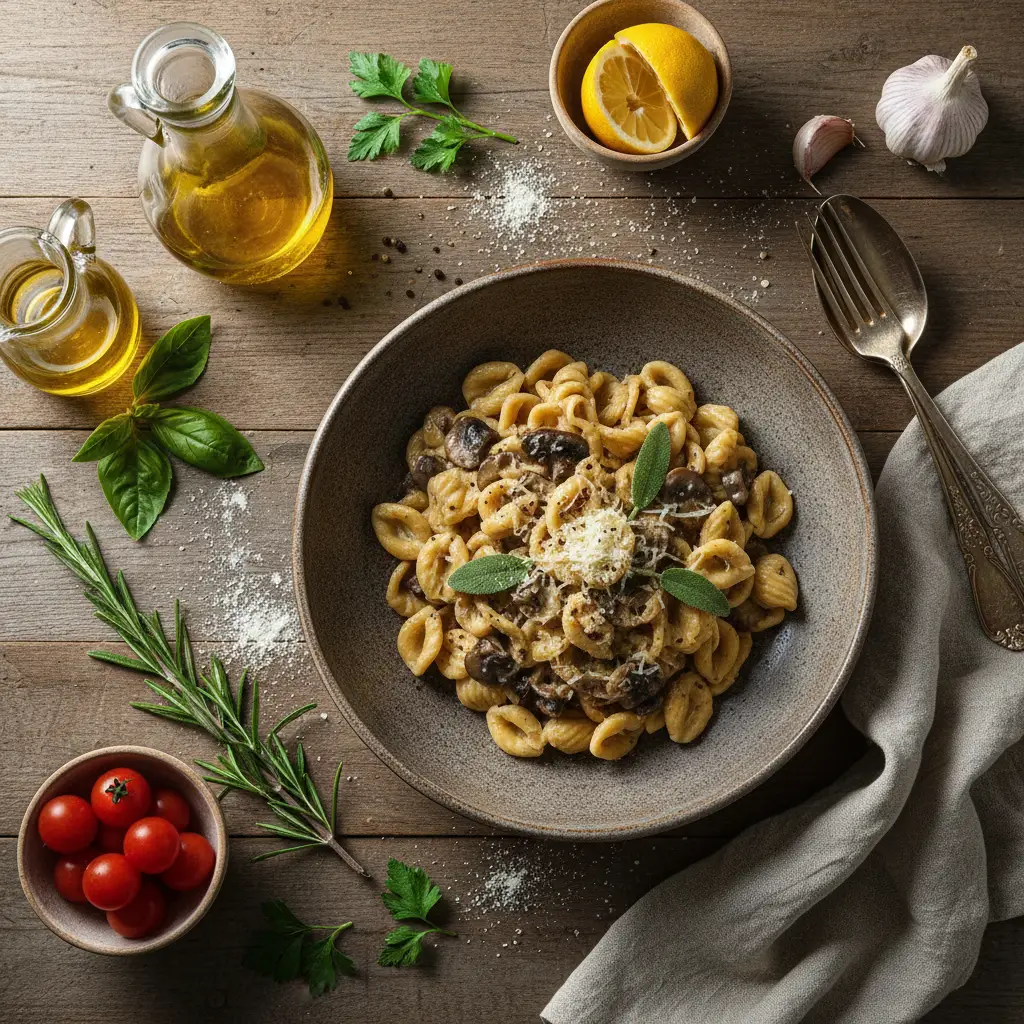
Props and Backgrounds
Props and backgrounds set the mood and context. They should complement the food without competing for attention.
Background Surfaces
- Wooden boards and tables: Warm, rustic feel. Works for comfort food, baking, and casual dishes.
- Marble or stone: Clean, elegant. Good for pastries, fine dining, and minimalist compositions.
- Linen or cloth napkins: Add texture and softness. Neutral tones (white, cream, light gray) work with everything.
- Dark surfaces: Slate, dark wood, or black tile. Creates moody, dramatic contrast.
You can buy purpose-made photo backgrounds or simply use a textured cutting board, a baking sheet, or a piece of fabric.
Choosing Props
Keep props relevant to the food. A cup of coffee belongs near a pastry. A wooden spoon belongs near a bowl of soup. Avoid props that have no logical connection to the dish.
Neutral-toned ceramics in matte finishes are the most versatile plates for food photography. Glossy white plates create harsh reflections. Bold patterns distract from the food.
Keep the color palette limited. Three to four colors maximum, including the food itself.
Camera Settings for Food Photography
Aperture
Shoot between f/2.8 and f/5.6 for close-up shots with selective focus. Use f/8 to f/11 for overhead shots where you want everything sharp.
At very wide apertures like f/1.8, too much of the dish falls out of focus. This can make the food look blurry rather than dreamy. If you want to learn more about controlling background blur intentionally, see our guide on how to create beautiful bokeh. Food photography generally needs more depth of field than portrait photography.
Shutter Speed
On a tripod, shutter speed is not a concern. Use whatever the correct exposure requires, even if it is a full second. For handheld shooting near a window, keep your shutter speed at 1/60s or faster. If your images are coming out soft, our guide on how to take sharp photos every time covers the techniques that eliminate blur.
ISO
Stay at ISO 100 to 400 for clean, detailed images. Food photography relies on texture and fine detail, so noise is particularly unwelcome.
White Balance
Set manually to match your light source. Window light is typically around 5,000K to 5,500K. For a deep dive into color temperature and Kelvin settings, see our complete guide to understanding white balance. Avoid auto white balance if your scene includes warm-toned wooden surfaces, as the camera may try to compensate and shift colors incorrectly.
Recommended Camera Settings Table
Here are specific settings for common food photography scenarios:
| Scenario | Lens | Aperture | Shutter Speed | ISO | White Balance |
|---|---|---|---|---|---|
| Overhead flat lay, window light | 35mm or 50mm (e.g., Sony FE 50mm f/1.8) | f/5.6 – f/8 | 1/60s – 1/125s | 100 – 400 | 5,200K – 5,500K |
| 45-degree angle, single dish | 50mm or 85mm (e.g., Canon RF 85mm f/2 Macro IS STM) | f/2.8 – f/4 | 1/125s – 1/250s | 100 – 400 | 5,000K – 5,500K |
| Straight-on, layered cake or drink | 85mm or 100mm macro (e.g., Nikon Z MC 105mm f/2.8 VR S) | f/4 – f/5.6 | 1/60s – 1/125s | 100 – 400 | 5,000K – 5,500K |
| Moody dark food styling | 50mm or 85mm | f/2.8 – f/4 | 1/60s – 1/125s | 200 – 800 | 4,800K – 5,200K |
| Restaurant / dim ambient light | 35mm f/1.4 or 50mm f/1.8 | f/1.8 – f/2.8 | 1/60s – 1/125s | 1600 – 3200 | Match ambient (often 3,000K – 3,500K) |
| Action pour shot (sauce, syrup) | 50mm or 85mm | f/4 – f/5.6 | 1/250s or faster | 400 – 800 | 5,000K – 5,500K |
Real-World Tips from Experienced Photographers
Work fast once the food is plated. Professional food photographers like Andrew Scrivani and Joanie Simon emphasize that you typically have a 5 to 10 minute window before food starts to degrade. Ice cream melts, greens wilt, sauces congeal, and condensation on cold drinks disappears. Have your composition, lighting, and camera settings fully dialed in before the hero dish is plated. Many pros use a stand-in plate during setup, then swap in the final styled dish only when everything else is ready.
Spray water for freshness. A small spray bottle filled with water (or a 50/50 mix of water and glycerin for longer-lasting droplets) is a standard tool in food photography kits. A light misting on fruits, vegetables, salad greens, and drink glasses creates a dewy, just-washed freshness that makes food look irresistible. Glycerin droplets do not evaporate as quickly, giving you more shooting time. This is a technique used in virtually every food magazine and cookbook shoot.
Invest in a good tripod and tethering setup. Check our roundup of the best tripods for photography for options suited to tabletop work. Food photography is one genre where a tripod is almost always beneficial. It frees your hands for last-minute styling adjustments between shots and ensures consistent framing. Tethering your camera to a laptop via USB (using software like Capture One or Lightroom’s tethered capture) lets you see each image at full size immediately, so you can catch styling issues, focus problems, and lighting inconsistencies before moving on. Cameras like the Nikon Z6 III and Sony A7 IV have reliable tethering support.
Color contrast creates appetite appeal. The most visually compelling food photos feature contrasting colors. Red strawberries on a white plate, green basil on orange pasta, golden fried chicken against dark slate. When styling a dish, think about what garnish or background element adds color contrast. This is why chefs and food photographers instinctively reach for fresh herbs, citrus wedges, and colorful spice dusts as finishing touches.
Editing Food Photos
Post-processing should enhance what is already there, not fabricate appeal.
Key Adjustments
- Exposure: Bright, airy food photos are currently popular. Lift exposure slightly if the image feels dark.
- White balance: Fine-tune so whites are truly white and food colors look natural.
- Contrast: Add moderate contrast to make textures pop.
- Highlights and shadows: Pull highlights down to recover detail in bright areas. Lift shadows slightly to open up dark zones.
- Saturation: Be subtle. Oversaturated food looks artificial. Boost specific colors selectively using HSL sliders rather than global saturation.
- Sharpening: Apply moderate sharpening to enhance texture in bread, grains, and crusts.
Colors to Watch
Reds and oranges are critical in food photography because they trigger appetite. Greens should look fresh, not neon. Browns should look warm and appetizing, not muddy.
Common Mistakes to Avoid
Using camera flash. Built-in flash creates flat, harsh light with hard shadows. It is the fastest way to make food look unappetizing.
Too many props. Cluttered scenes distract from the food. Start minimal and add elements only if they improve the composition. The same composition rules that apply to all photography work just as well on a tabletop.
Shooting from too far away. Get close. Fill the frame with the food. Negative space is fine when intentional, but too much empty table weakens the image.
Waiting too long to shoot. Food wilts, melts, and loses its luster quickly. Have your composition, lighting, and camera settings ready before the food is plated. You typically have 5 to 10 minutes before things start to deteriorate.
Food photography is a skill that improves rapidly with practice. Start with natural window light, a simple background, and one dish. Master those basics, and everything else builds on that foundation. When you are ready to polish your images, our photo editing basics in Lightroom guide covers the essential adjustments.
Frequently Asked Questions
What is the best camera lens for food photography? A 50mm prime lens (like the Canon RF 50mm f/1.8 STM or Sony FE 50mm f/1.8) is the most versatile starting point for food photography. It offers a natural perspective with minimal distortion and works well for both 45-degree and straight-on angles. For overhead flat-lay shots, a 35mm lens provides a wider field of view without excessive barrel distortion. As you advance, an 85mm or 100mm macro lens (such as the Nikon Z MC 105mm f/2.8 VR S) allows you to capture tight detail shots of textures like bread crusts, chocolate drizzles, and sugar crystals with beautiful background separation.
Do I need expensive lighting equipment for food photography? No. Natural window light produces professional-quality food photography results and costs nothing. Position your setup next to a large window with indirect light (north-facing in the northern hemisphere), use a white foam board as a reflector on the shadow side, and you have a lighting setup that rivals studio strobes for most food work. If you want to shoot regardless of time of day or weather, a single continuous LED panel (such as the Aputure MC or Godox ML60) with a softbox or diffusion panel can replicate window light. A complete artificial lighting setup for food photography can be assembled for under $300.
How do I make food look appetizing in photos? Three elements create appetite appeal: light, texture, and freshness. Use side lighting or backlighting to reveal the texture of crusts, sauces, and garnishes. Avoid front lighting, which flattens everything. Style the food with height and layers rather than spreading it flat. Add finishing touches like a drizzle of olive oil for shine, a sprinkle of flaky salt for texture, fresh herbs for color, or a light misting of water for dewiness. Shoot quickly after plating, as food degrades fast. Most importantly, use a shallow aperture (f/2.8 to f/4) to create selective focus that draws the viewer’s eye to the most appealing part of the dish.
You might also like
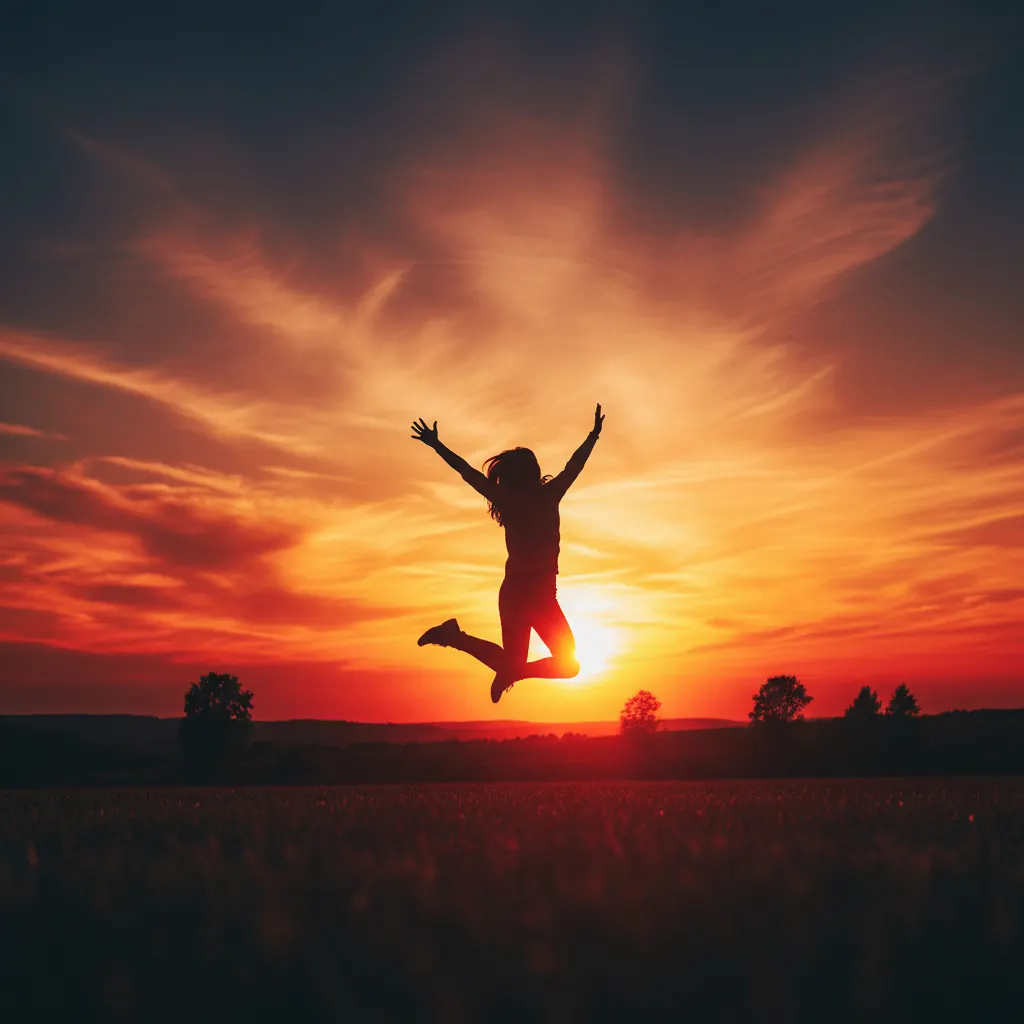
How to Shoot Silhouettes: A Step-by-Step Guide
Master silhouette photography with backlighting techniques, exposure metering tips, subject selection, and creative composition ideas.
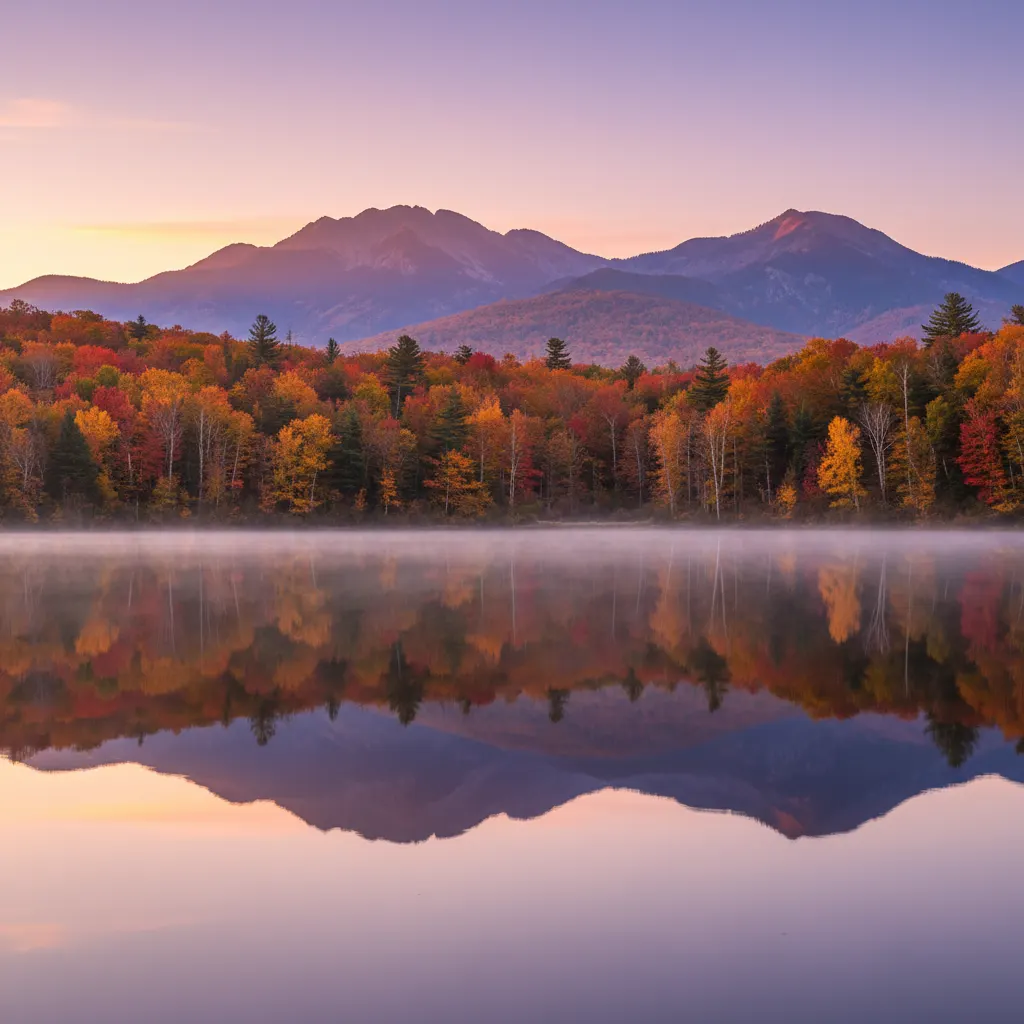
How to Photograph Reflections Creatively
Discover techniques for capturing stunning reflections in water, glass, and puddles, plus how polarizing filters give you creative control.
Beginner Guide to Photo Composition
Learn advanced composition concepts like visual weight, negative space, depth, patterns, and foreground interest to elevate your photography.