Photo Editing Basics: A Lightroom Guide for Beginners
Learn Adobe Lightroom essentials from import to export, including the Develop module, presets, and an efficient editing workflow.
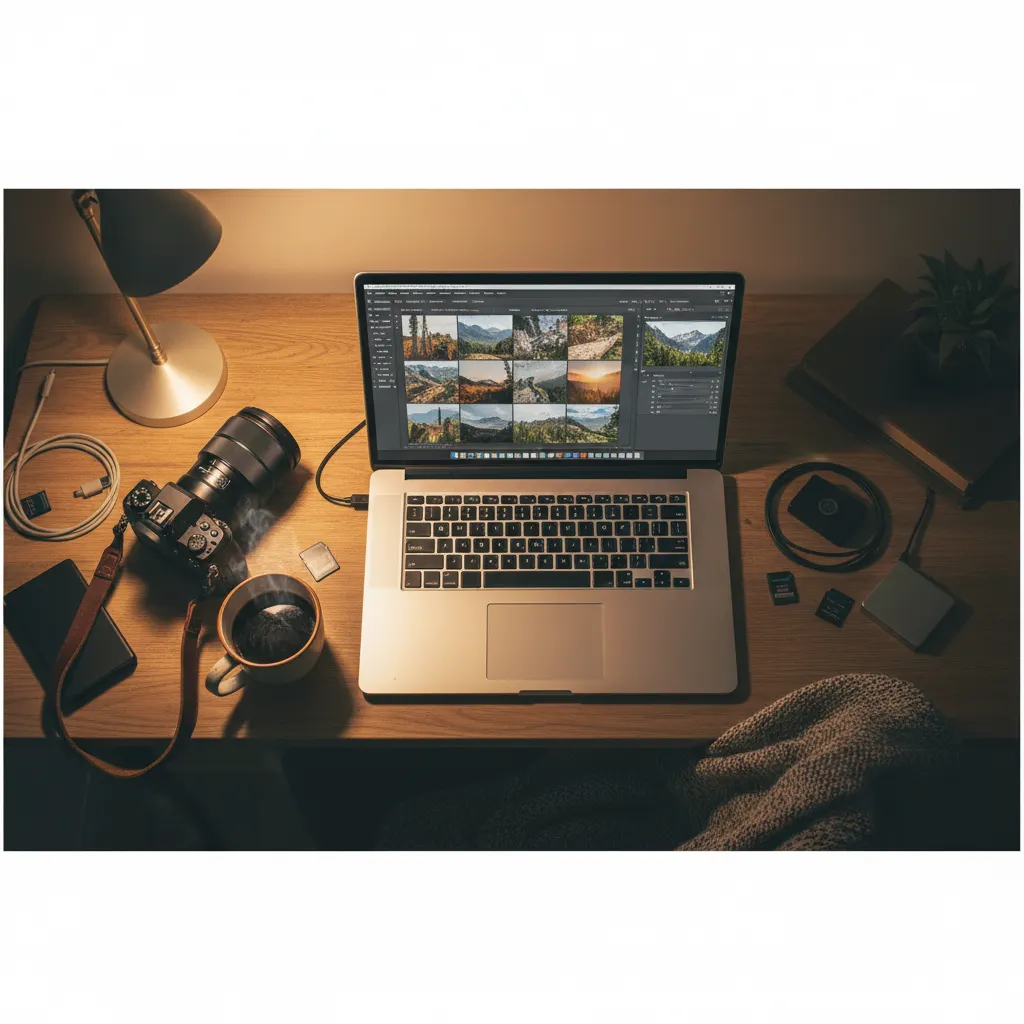
Adobe Lightroom is the industry standard for photo editing and organization. Unlike Photoshop, which is built for pixel-level manipulation, Lightroom is designed specifically for photographers who need to import, organize, edit, and export large volumes of images efficiently. This guide walks you through the essentials.
Lightroom Classic vs Lightroom CC
Adobe offers two versions:
- Lightroom Classic — Desktop-based, uses local storage, full-featured with advanced tools. This is what most serious photographers use and what this guide covers.
- Lightroom (CC) — Cloud-based, simpler interface, syncs across devices. Good for casual editing on the go but lacks some advanced features.
Both use the same RAW processing engine, so the core editing tools produce identical results. If you’re still deciding whether to shoot RAW or JPEG, our guide on RAW vs JPEG and when to use each will help you choose.
Setting Up: Import and Organization
Importing Photos
When you connect your memory card or point Lightroom to a folder, the Import dialog appears. Key decisions:
- Copy photos to a specific folder on your hard drive (recommended), or Add them if they are already where you want them.
- File Handling: Check “Build Smart Previews” if you want to edit when the original files are on a disconnected external drive.
- Apply During Import: Add metadata (your name, copyright info) and keywords. This saves time later.
Organizing With the Library Module
The Library module is your image browser and organizer.
- Folders panel shows your actual directory structure.
- Collections are virtual albums — you can add the same photo to multiple collections without duplicating the file.
- Smart Collections automatically populate based on rules (e.g., all 5-star photos from 2026, all unedited RAW files).
- Keywords and flags help you find images later. Flag picks (P), reject obvious failures (X), and rate your best shots with stars (1 to 5).
A fast culling workflow: Enable the Loupe view, press P for picks and X for rejects as you scroll through images, then filter to show only flagged picks for editing.
The Develop Module: Where the Magic Happens
Press D to enter the Develop module. The right panel contains all your editing tools, organized in sections from top to bottom.
Basic Panel
This is where 80% of your editing happens.
- White Balance: Correct color temperature. If you’re unfamiliar with white balance concepts, our understanding white balance guide explains the fundamentals. Use the eyedropper tool on something neutral gray in your image for a quick fix. Or adjust the Temperature (blue to yellow) and Tint (green to magenta) sliders manually.
- Exposure: Overall brightness. +1 equals one stop of light. Use the histogram panel to guide your adjustments — our guide on how to use the histogram in photography explains what to look for.
- Contrast: Increases the difference between lights and darks.
- Highlights: Recovers detail in bright areas. Pull left to rescue blown-out skies.
- Shadows: Brightens dark areas. Pull right to reveal detail in shadows.
- Whites: Sets the white point. Hold Alt/Option while dragging to see exactly where clipping begins.
- Blacks: Sets the black point. Same Alt/Option trick works here.
- Texture: Enhances medium-sized detail. Subtle and natural-looking.
- Clarity: Adds midtone contrast for a punchier look. Use sparingly — too much looks over-processed.
- Dehaze: Cuts through fog, haze, and low-contrast conditions. It is particularly useful for golden hour photography shots where atmospheric haze softens the scene.
- Vibrance: Boosts muted colors while protecting already-saturated tones and skin tones.
- Saturation: Boosts all colors equally. Use with restraint.
A Practical Basic Panel Workflow
- Set white balance first.
- Adjust Exposure until the overall brightness looks right.
- Pull Highlights left and Shadows right to recover detail on both ends.
- Set Whites and Blacks using the Alt/Option clipping preview.
- Add Texture or Clarity to taste.
- Fine-tune Vibrance (usually +10 to +25 for a natural boost).
Tone Curve
The Tone Curve gives you finer control over the tonal range. The most popular adjustment is the “faded film” look: lift the bottom-left point of the curve slightly so that pure blacks become dark gray. This creates a matte, film-like aesthetic.
For targeted control, switch to the Point Curve and adjust the Red, Green, and Blue channels independently for creative color grading.
HSL / Color Panel
HSL stands for Hue, Saturation, and Luminance. This panel lets you adjust individual color ranges:
- Hue shifts colors (e.g., make greens more yellow or teal).
- Saturation controls intensity of each color.
- Luminance controls brightness of each color.
Common uses: shift orange hue slightly toward yellow for warmer skin tones, desaturate greens that are too vivid in landscapes, or darken a blue sky by reducing blue luminance.
Detail Panel
- Sharpening: Lightroom applies default sharpening (Amount: 40). For most images, an Amount of 50 to 80 with a Radius of 1.0 works well. Getting sharp images starts in-camera — see our tips on how to take sharp photos every time before relying on software fixes. Hold Alt/Option while adjusting the Masking slider to see exactly which areas receive sharpening — white areas are sharpened, black areas are protected.
- Noise Reduction: Increase Luminance to reduce grain from high-ISO shots, a common issue when you shoot in low light without flash. Values of 20 to 40 handle moderate noise without destroying detail. Lightroom’s AI Denoise feature (under Photo > Enhance) delivers dramatically better results for noisy files.
Lens Corrections
Check “Remove Chromatic Aberration” and “Enable Profile Corrections” on every image. Lightroom automatically detects your lens and corrects distortion and vignetting. This takes two seconds and improves nearly every photo.
Transform Panel
Correct converging vertical lines (common in architecture photography) using the Upright tools. The “Auto” button works surprisingly well. For manual control, use the Vertical and Horizontal sliders.
Local Adjustments
Global adjustments affect the entire image. Local adjustments target specific areas.
- Graduated Filter: Applies an adjustment in a gradient — perfect for darkening skies while leaving the foreground untouched.
- Radial Filter: Applies an adjustment inside or outside an ellipse. Useful for spotlight effects or local exposure adjustments.
- Adjustment Brush: Paint adjustments exactly where you want them. Use it to brighten eyes, smooth skin, or dodge and burn specific areas.
- AI Masking: Lightroom can now automatically detect and mask the sky, subject, or background. Select “Subject” and Lightroom creates a precise mask around your main subject in seconds. This is a game-changer for selective editing.
Working With Presets
Presets save a set of adjustments that you can apply to any photo with one click. They are excellent for establishing a consistent look across a series of images.
Using Built-in Presets
Lightroom ships with several preset collections. Hover over each one to preview the effect in real time. Click to apply.
Creating Your Own Presets
Once you have edited a photo to your liking:
- Click the + icon in the Presets panel.
- Choose which settings to include (usually everything except White Balance and Exposure, which vary per image).
- Name it and save.
Now you can apply that look to any future image and fine-tune from there. This dramatically speeds up batch editing.
Exporting Your Photos
Press Ctrl+Shift+E (Cmd+Shift+E on Mac) to open the Export dialog.
For Web and Social Media
- Format: JPEG
- Quality: 80 to 85 (good balance of quality and file size)
- Color Space: sRGB (critical for web — other color spaces may display incorrectly in browsers)
- Resize: Long edge 2048px for general web use, 1080px for Instagram
For Print
- Format: TIFF or JPEG at 100% quality
- Color Space: Adobe RGB or the printer’s recommended profile
- Resolution: 300 DPI
- No resizing — export at full resolution
For Archival
- Format: DNG or Original + XMP sidecar files
- This preserves all RAW data and your editing instructions
Keyboard Shortcuts That Save Hours
| Shortcut | Action |
|---|---|
| D | Enter Develop module |
| G | Enter Library Grid view |
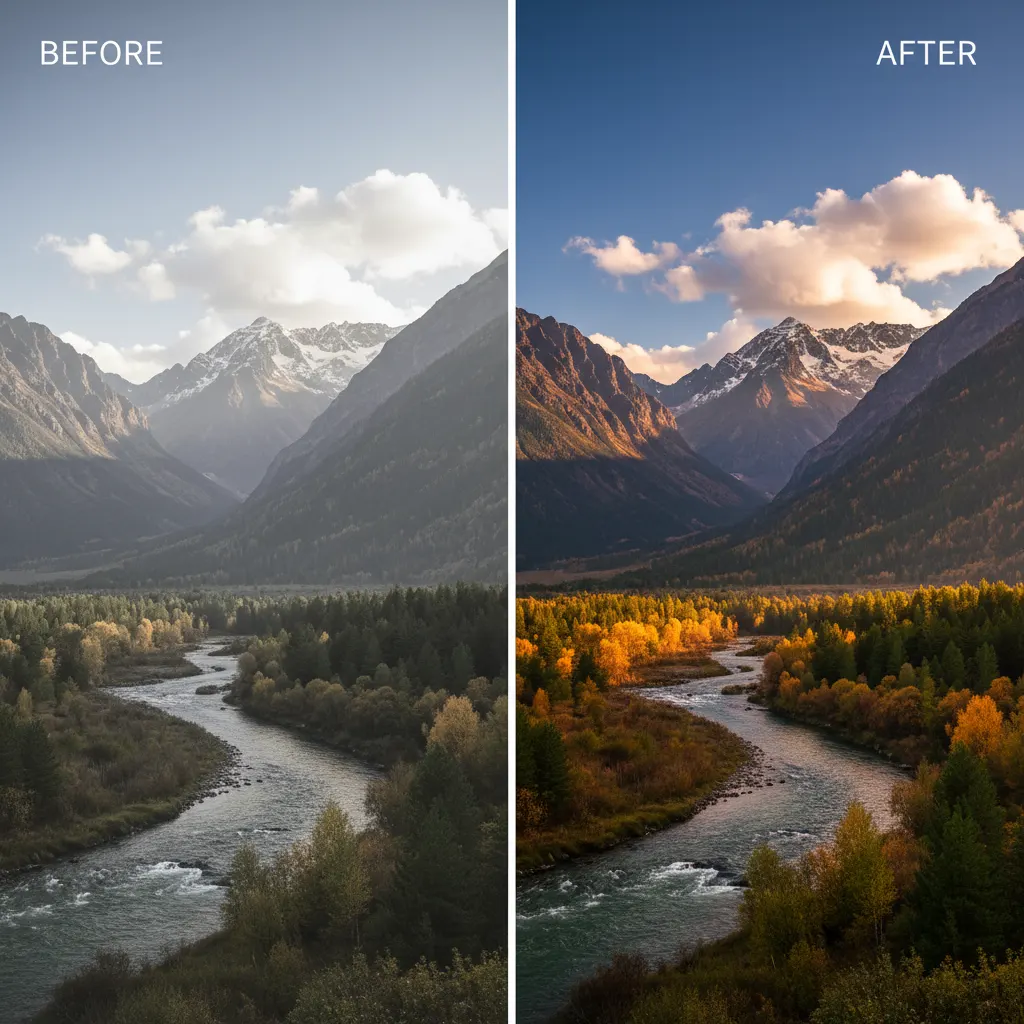
| \ (backslash) | Toggle before/after |
| R | Crop tool |
| K | Adjustment Brush |
| M | Graduated Filter |
| Ctrl+Z / Cmd+Z | Undo |
| Ctrl+Shift+C / Cmd+Shift+C | Copy develop settings |
| Ctrl+Shift+V / Cmd+Shift+V | Paste develop settings |
Common Mistakes to Avoid
- Over-sharpening. Pushing the Sharpening Amount past 100 creates visible halos around edges that look crunchy and artificial, especially in web-sized exports. For most images, Amount 50 to 80 with Radius 1.0 and Masking at 40 to 60 produces clean, natural sharpness. Use the Alt/Option key on the Masking slider to verify you are only sharpening edges, not flat areas like sky or skin.
- Ignoring lens corrections. Two clicks — “Remove Chromatic Aberration” and “Enable Profile Corrections” — fix barrel distortion, vignetting, and color fringing automatically. Skipping this step leaves subtle optical flaws in every image. Make it part of your import preset so it applies automatically.
- Crushing blacks for “mood.” Dragging the Blacks slider too far left destroys shadow detail permanently. Instead, use the Tone Curve to lift the shadow endpoint slightly for a film-like matte look that preserves detail while adding character.
- Editing JPEG files. Lightroom can edit JPEGs, but the limited dynamic range (roughly 8 stops versus 12 to 14 in RAW) means highlights and shadows clip quickly. Always shoot RAW when you plan to edit. The extra file size is worth the editing flexibility.
- Batch-applying presets without adjusting exposure. Presets handle color grading and tone curves well, but every image has different exposure. After applying a preset, always check and adjust Exposure, Highlights, and Shadows individually per image.
- Not documenting your edits. When developing a signature style or creating client presets, capture before/after screenshots of your Lightroom workspace at each stage. A lightweight tool like Screenshot Utility makes it easy to grab quick captures of your editing process for reference or tutorials.
Recommended Workflow for Speed
Professional photographers editing hundreds of images per session follow a structured workflow to stay efficient:
- Import and apply a base preset that includes lens corrections, your preferred sharpening values, and a starting color profile (such as Adobe Color or Camera Neutral).
- Cull in Library module using flags: P for picks, X for rejects. Use the Grid view (G) and move quickly — spend no more than 2 seconds per image deciding.
- Edit your hero shot first. Choose the single best image from the set and perfect it fully in the Develop module.
- Copy settings (Ctrl+Shift+C) and paste (Ctrl+Shift+V) to similar images. Exclude crop, spot removal, and local adjustments — those vary per image.
- Fine-tune individual images for exposure and white balance differences.
- Export in batch using saved export presets for web, print, and archive.
This approach lets experienced Lightroom users process 200 to 500 images from a portrait session in under 90 minutes.
One Final Tip
Edit with purpose. It is easy to over-edit when every slider is at your fingertips. Develop a consistent style, create presets to enforce it, and remember that the best edits are the ones nobody notices. The photo should look natural, polished, and intentional — not processed.
Frequently Asked Questions
Is Lightroom Classic or Lightroom CC better for beginners?
Lightroom CC (the cloud-based version) is simpler to learn because it has a cleaner interface and automatically backs up your photos to Adobe’s cloud storage. However, Lightroom Classic offers more powerful tools — the full Develop module, advanced print layouts, tethered shooting, and local file management. If you plan to take photo editing seriously, start with Lightroom Classic. The extra learning curve pays off within weeks, and most professional tutorials and presets are built for Classic. Both versions are included in the Adobe Photography Plan at $9.99 per month, which also includes Photoshop.
What are the best free alternatives to Lightroom?
Darktable is the most feature-complete free alternative. It offers a similar non-destructive RAW editing workflow with modules for exposure, color, sharpening, and noise reduction. RawTherapee is another strong option with excellent demosaicing algorithms. For simpler needs, the free version of Capture One Express (available for select camera brands) provides professional-grade color science. None of these match Lightroom’s AI masking or catalog management, but they handle core RAW development well.
How much RAM do I need for Lightroom to run smoothly?
Adobe recommends 16 GB of RAM as a minimum for Lightroom Classic, but 32 GB makes a noticeable difference when working with high-resolution files (40 MP and above) or using AI features like Denoise and AI masking. An SSD for your catalog and preview files matters more than raw CPU speed — moving your Lightroom catalog from an HDD to an SSD can cut module-switching and preview-loading times by 50% or more.
You might also like
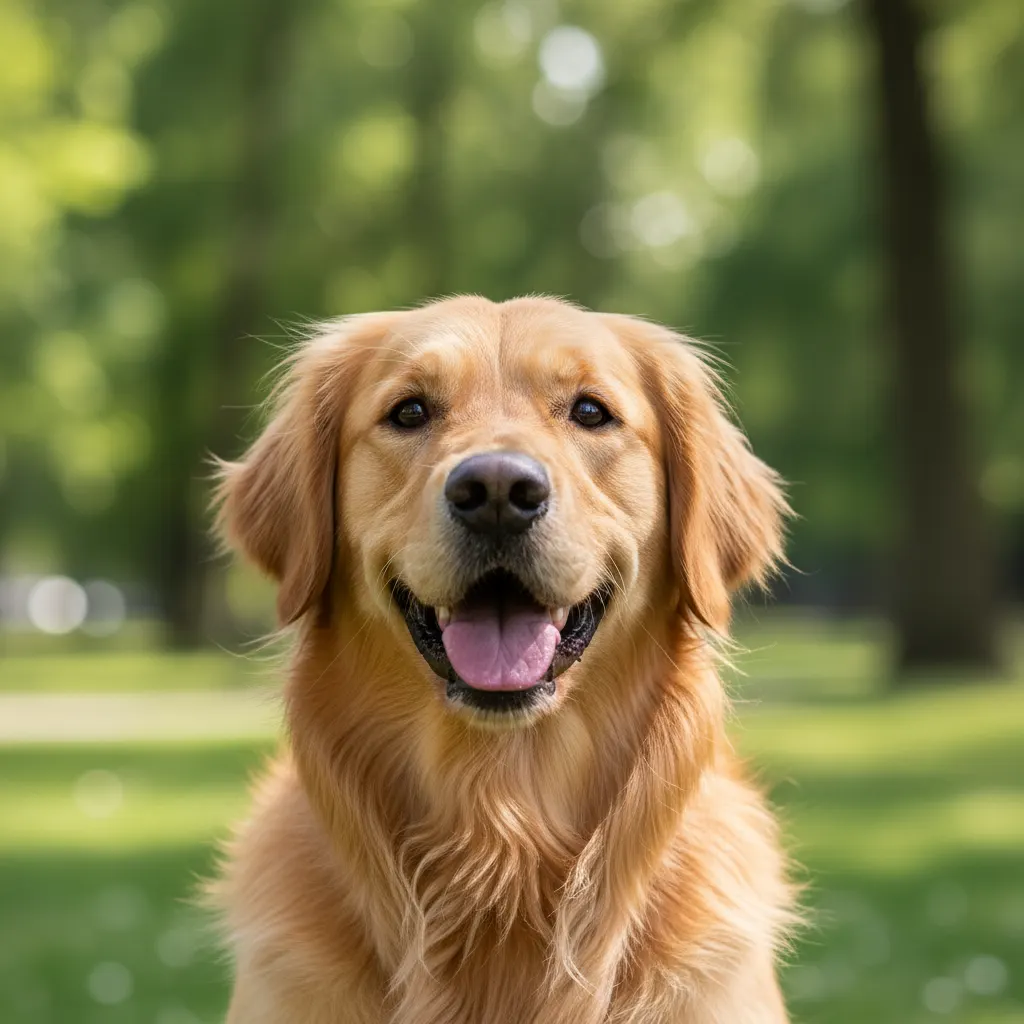
How to Photograph Pets and Animals Like a Pro
Get sharp, expressive pet photos with tips on eye-level shooting, burst mode, lighting, action shots, and patience techniques.
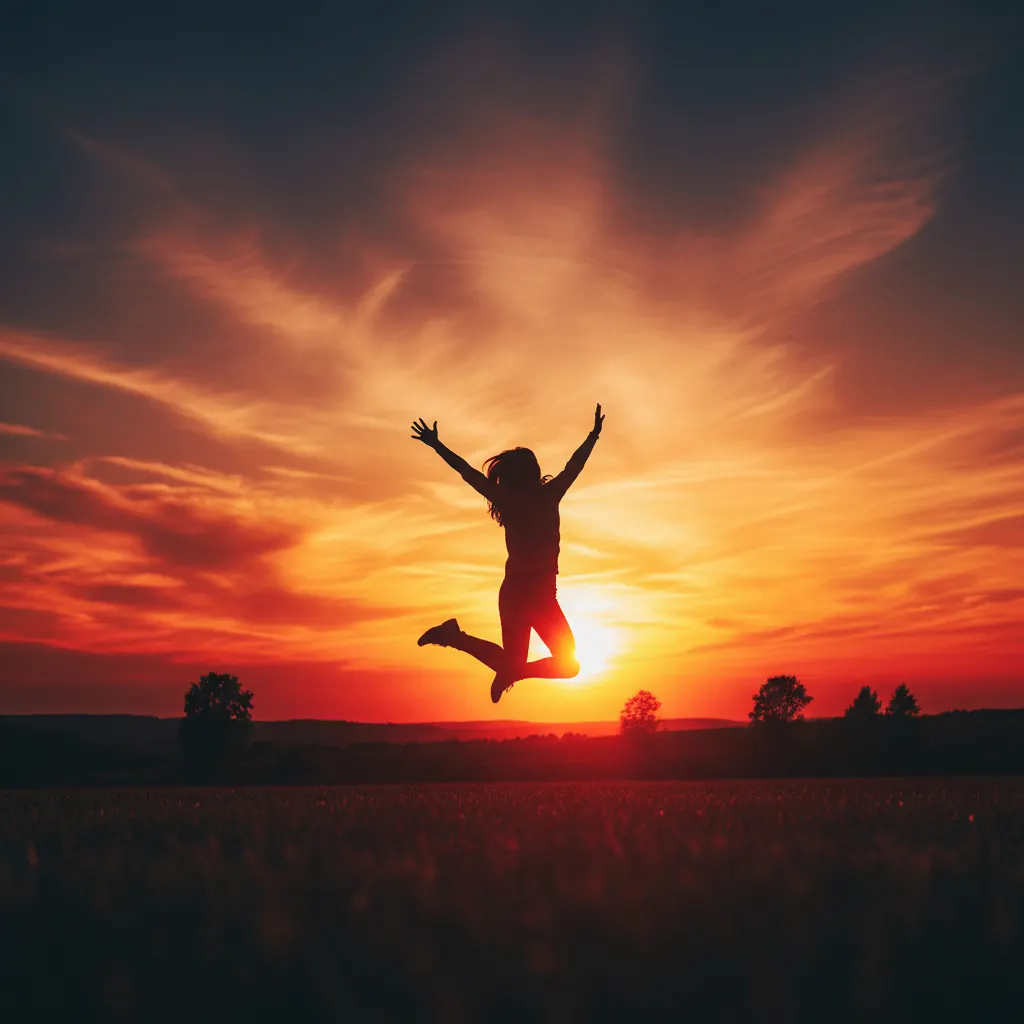
How to Shoot Silhouettes: A Step-by-Step Guide
Master silhouette photography with backlighting techniques, exposure metering tips, subject selection, and creative composition ideas.
Time-Lapse Photography Tutorial: From Setup to Final Video
Learn how to create stunning time-lapse videos with the right intervalometer setup, camera settings, post-processing workflow, and gear.