How to Use Manual Mode on Your Camera
Understand manual mode with clear explanations of aperture, shutter speed, and ISO, plus practice exercises to build confidence.
Switching to Manual mode feels intimidating at first. You are taking full control of exposure — no safety net, no auto-correction. But Manual mode is also where you stop taking snapshots and start making photographs. Once you understand how the three exposure variables work together, it becomes second nature.
Why Shoot in Manual Mode?
Auto and semi-auto modes (Program, Aperture Priority, Shutter Priority) work well in many situations. But they guess what you want, and they often guess wrong. Manual mode gives you complete control over:
- How bright or dark the image is — You decide the exposure, not the camera.
- How much is in focus — You control the depth of field precisely.
- How motion appears — You decide whether to freeze or blur movement.
- Consistency across a series — Every shot in a sequence has identical exposure, which is critical for events, products, and any situation where lighting stays constant.
The Three Pillars of Exposure
Every photograph is made from three settings working together: aperture, shutter speed, and ISO. For a detailed breakdown of each one, read our guide to understanding aperture, shutter speed, and ISO. All three control how much light reaches the sensor, but each has a unique visual side effect.
Aperture (f-stop)
Aperture is the size of the opening inside your lens. It is measured in f-stops.
- Low f-number (f/1.4, f/1.8, f/2.8) = Large opening = More light = Shallow depth of field (blurry background).
- High f-number (f/8, f/11, f/16) = Small opening = Less light = Deep depth of field (more of the scene in focus).
Aperture is the most creative of the three settings. It directly controls how your background looks.
Shutter Speed
Shutter speed is how long the sensor is exposed to light. It is measured in fractions of a second.
- Fast shutter speed (1/1000s, 1/2000s) = Less light = Freezes motion.
- Slow shutter speed (1/30s, 1/2s, 2s) = More light = Blurs motion.
As a general rule, your shutter speed should be at least 1 divided by your focal length to avoid camera shake when shooting handheld. For a 50mm lens, that means at least 1/50s. For a 200mm lens, at least 1/200s.
ISO
ISO controls the sensor’s sensitivity to light.
- Low ISO (100, 200) = Less sensitivity = Cleaner image with no noise.
- High ISO (3200, 6400, 12800) = More sensitivity = Brighter image but with visible grain (noise).
Think of ISO as the volume knob. Turn it up when you need more brightness but cannot open the aperture wider or slow the shutter further. Modern cameras handle high ISOs much better than older models — ISO 3200 on a recent camera can look perfectly clean.
Understanding the Exposure Triangle
These three settings form a triangle. If you change one, you need to adjust at least one other to maintain the same exposure.
Example: You are shooting at f/5.6, 1/250s, ISO 200, and the exposure is correct. You want a blurrier background, so you open the aperture to f/2.8 — that is 2 stops more light. To compensate, you can either:
- Increase shutter speed by 2 stops: 1/250s becomes 1/1000s.
- Decrease ISO by 2 stops: ISO 200 becomes ISO 50 (if your camera supports it).
- Split the difference: one stop faster shutter (1/500s) and one stop lower ISO (100).
The result: same brightness, blurrier background, and you chose how to balance the trade-offs.
Reading the Light Meter
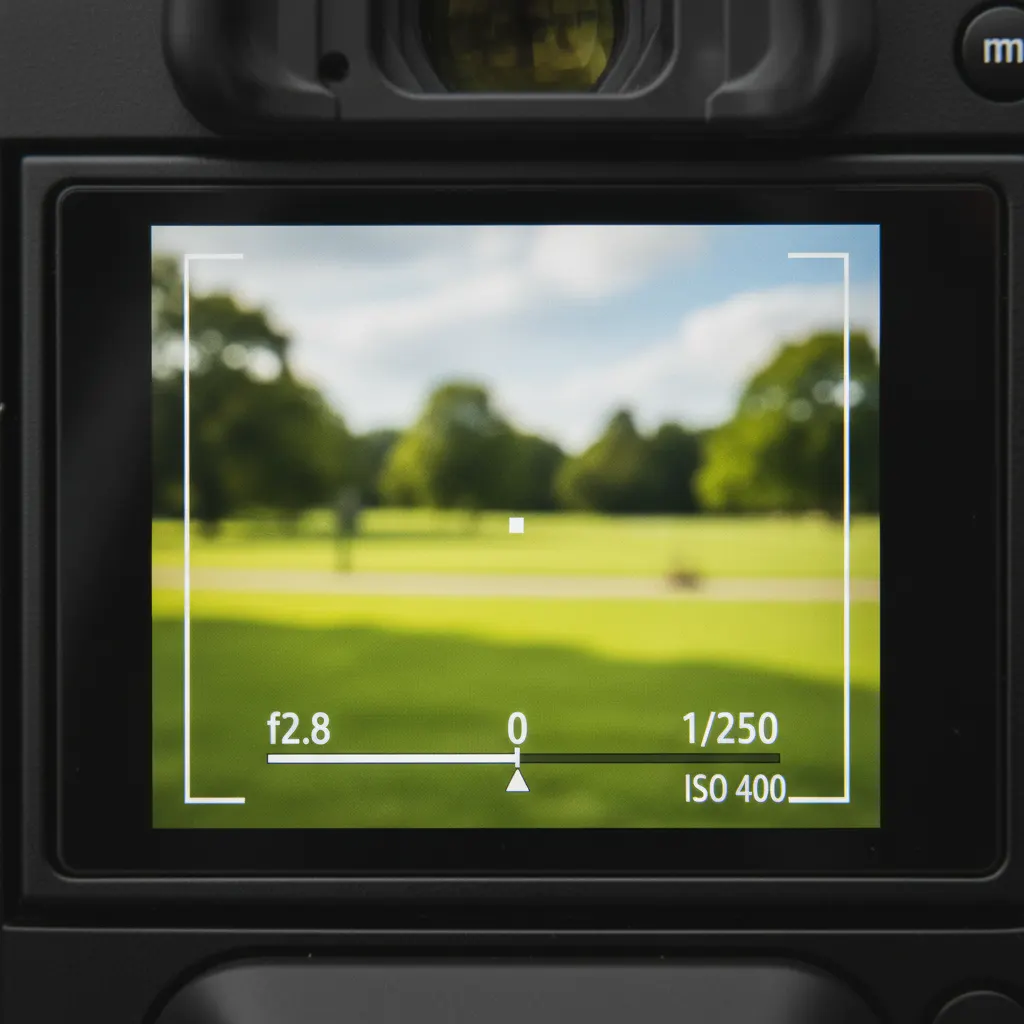
Your camera has a built-in light meter — a scale displayed in the viewfinder and on the top LCD (if your camera has one). It usually looks like this:
-3...-2...-1...0...+1...+2...+3A marker moves left (underexposed/dark) or right (overexposed/bright) as you adjust settings. When the marker sits at 0, the camera considers the exposure correct.
However, the meter is not always right. It is calibrated for medium gray. Very bright scenes (snow, white sand) fool the meter into underexposing, and very dark scenes (black backgrounds, night) cause overexposure. Learn to read the meter as a suggestion, then adjust based on your own judgment.
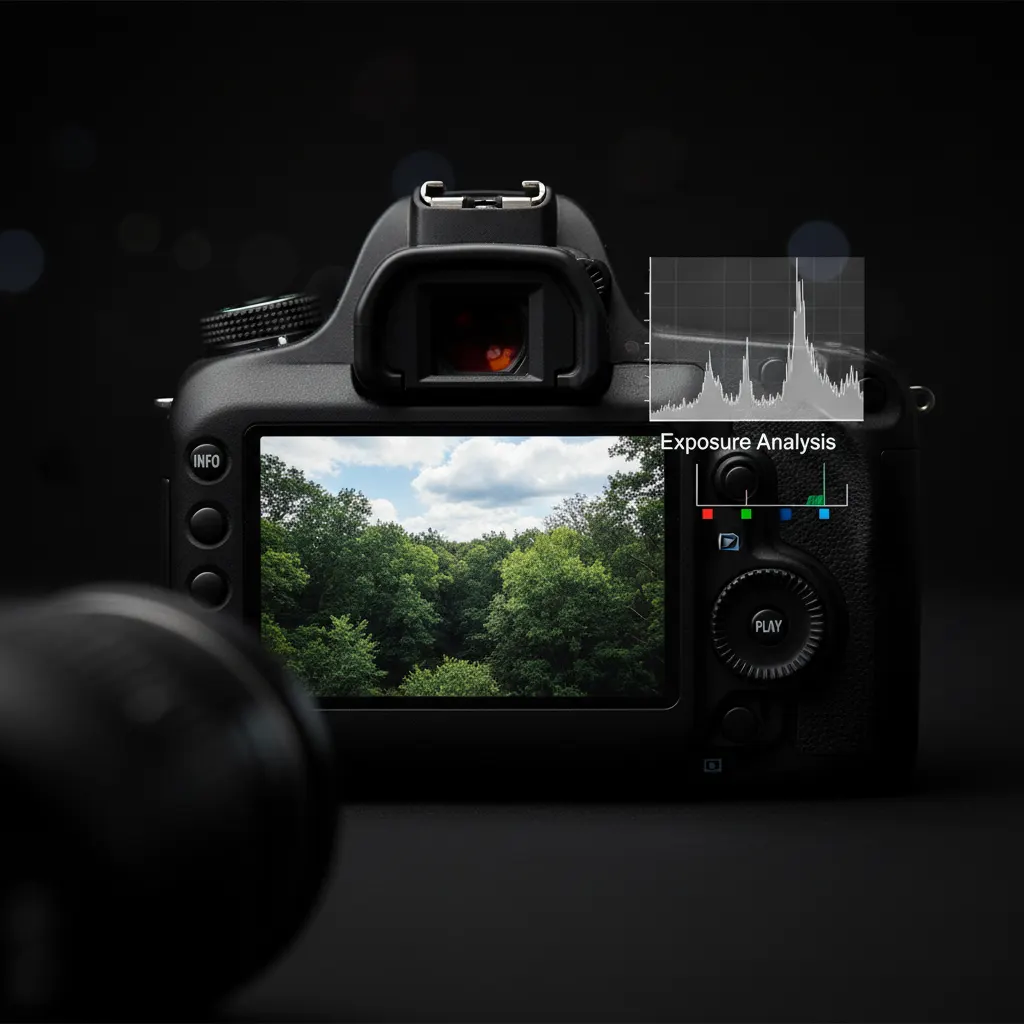
Using the Histogram
The histogram is a more reliable exposure tool than the meter. It shows the distribution of tones from pure black (left) to pure white (right).
- If the graph is bunched up against the left side, the image is underexposed.
- If it is bunched against the right side, it is overexposed.
- A good exposure typically has data spread across most of the histogram without slamming into either edge.
Enable the histogram on your LCD or viewfinder (check your camera menu) and glance at it after each shot. For a deeper dive, our guide on how to use the histogram in photography covers every pattern you’ll encounter.
Step-by-Step: Your First Manual Mode Shot
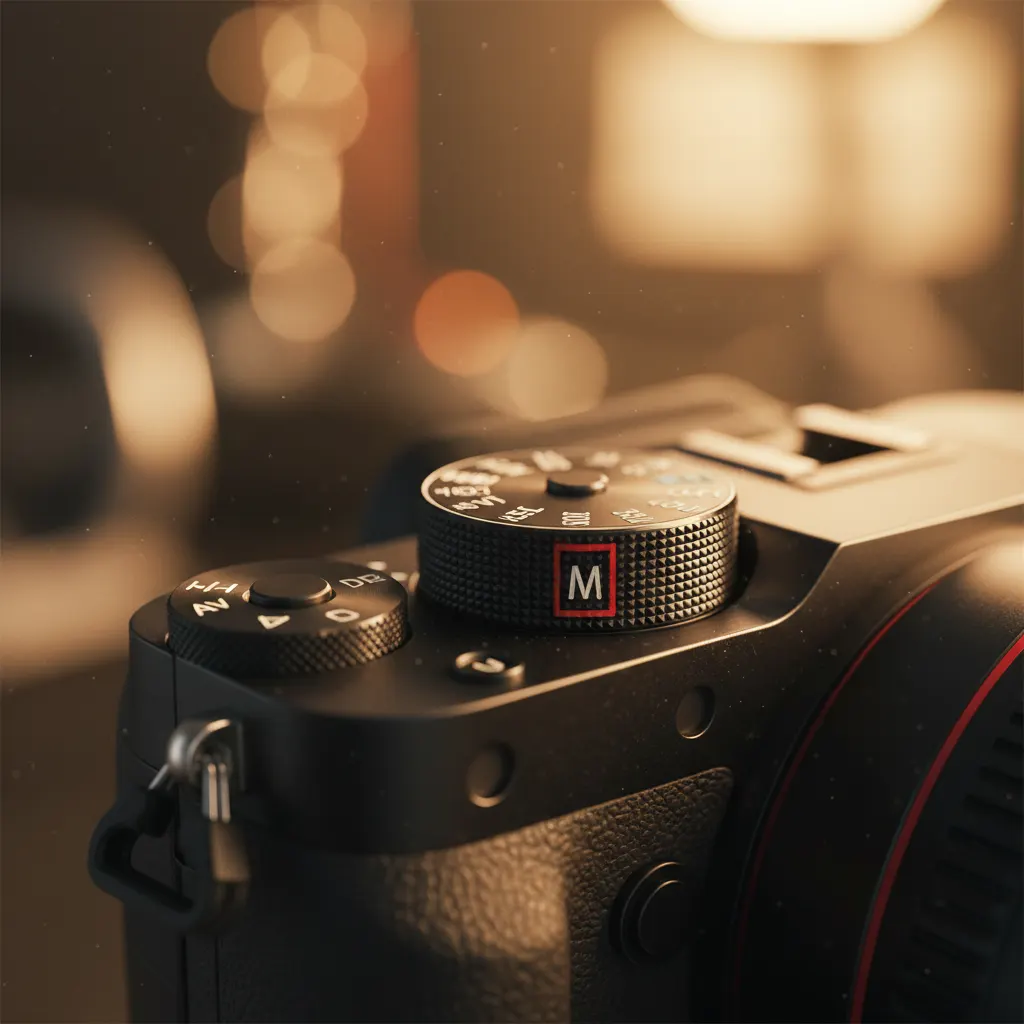
- Set your camera to M on the mode dial.
- Set ISO to 100 (or your camera’s lowest native ISO).
- Choose your aperture based on what you want creatively:
- Portrait with blurry background? f/1.8 to f/2.8.
- Landscape with everything sharp? f/8 to f/11.
- Adjust shutter speed until the light meter reads 0.
- Take the shot and review it on the LCD.
- Check the histogram. If it is too far left (dark), slow the shutter speed or raise ISO. If too far right (bright), do the opposite.
- Refine and repeat.
That is it. The whole process takes seconds once you have practiced it.
When Manual Mode Shines
Consistent Lighting
Studio photography, product photography, indoor events with controlled lighting — any time the light does not change, Manual mode ensures every frame has identical exposure. This saves enormous time in post-processing because you do not need to correct exposure variations between shots.
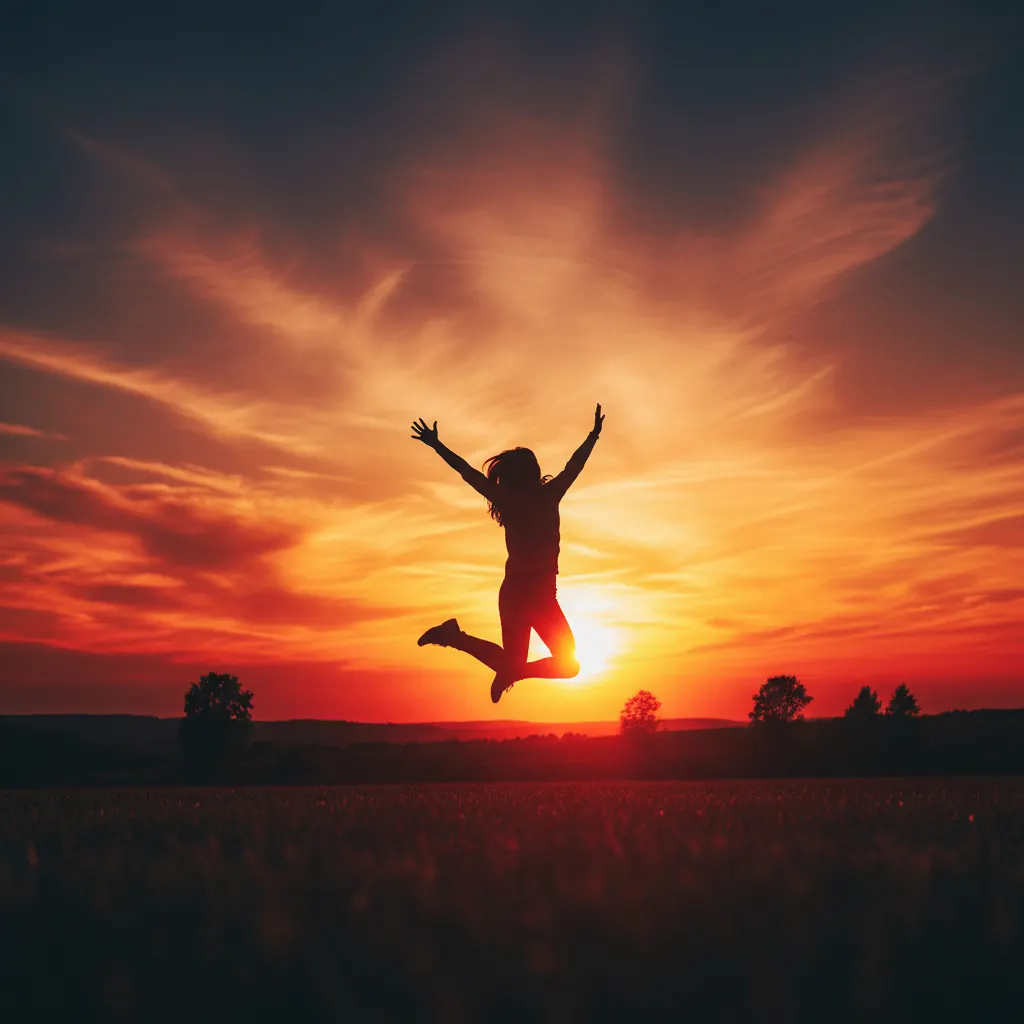
Tricky Lighting Situations
Backlit subjects, spotlit performers on a dark stage, snow scenes, sunsets — auto modes struggle with these because the contrast confuses the metering system. Manual mode is especially valuable when you shoot in low light without flash. In Manual mode, you set the exposure once for the subject, and it stays locked regardless of what is in the background.
Off-Camera Flash
When using external flashes, Manual mode gives you full control over both the ambient light (via shutter speed and ISO) and the flash exposure (via aperture and flash power). Auto modes conflict with manual flash in unpredictable ways.
Long Exposures
Any shutter speed longer than 30 seconds requires Bulb mode, which is only accessible from Manual. Our guide on how to shoot long exposure photography covers Bulb mode and ND filters in depth. Even for exposures within the 1-30 second range, Manual gives you the precision to set exactly what you need.
When You Might Not Need Manual
Rapidly changing light — street photography in mixed sun and shade, or wildlife where you are tracking an animal moving between bright and dark areas — can make Manual mode impractical. In these cases, Aperture Priority with exposure compensation is faster and more reliable. There is no shame in using semi-auto modes. The best photographers use whatever mode gets the shot.
Practice Exercises
Exercise 1: The Exposure Triangle in Action
Set up a still life near a window. Start at f/5.6, 1/125s, ISO 400. Take a photo. Now change the aperture to f/2.8 and adjust shutter speed until the exposure matches. Then change the aperture to f/11 and adjust again. Compare all three images — same brightness, different depth of field.
Exercise 2: Intentional Over and Under Exposure
Photograph the same scene at -2, -1, 0, +1, and +2 stops by adjusting only the shutter speed. Review the five images side by side. Notice how mood changes with exposure — darker feels more dramatic, brighter feels more airy.
Exercise 3: Freezing vs. Blurring Motion
Find running water (a faucet works). Shoot at 1/1000s (frozen droplets), 1/60s (slight blur), and 1/4s with a tripod (silky flow). Adjust ISO and aperture to keep the exposure balanced across all three. This exercise teaches you how shutter speed and creative intent are linked.
Exercise 4: High ISO Test
Photograph the same subject at ISO 100, 400, 1600, 6400, and 12800 (adjusting shutter speed to compensate). Zoom in to 100% on your computer to see at which point noise becomes unacceptable on your specific camera. Knowing your camera’s usable ISO ceiling is essential knowledge.
Recommended Camera Settings for Common Scenarios
Having a starting point for your settings removes the guesswork when you arrive at a new scene. The table below gives you tested combinations for situations you will encounter regularly. Treat these as a baseline, then fine-tune based on your histogram.
| Scenario | Aperture | Shutter Speed | ISO | Notes |
|---|---|---|---|---|
| Outdoor portrait, sunny day | f/2.8 | 1/500s | 100 | Blurred background, sharp subject |
| Landscape, golden hour | f/8 | 1/125s | 100 | Deep focus, tripod recommended below 1/60s |
| Indoor event, mixed lighting | f/2.8 | 1/125s | 1600–3200 | Consistent exposure across the room |
| Product photography, studio | f/8 | 1/125s | 100 | Tripod and continuous light; maximum sharpness |
| Street photography, shade | f/4 | 1/250s | 400–800 | Fast enough to freeze pedestrians |
| Night cityscape, tripod | f/11 | 2s–10s | 100 | Long exposure for light trails |
| Sports outdoors, daytime | f/4 | 1/1000s | 200–400 | Freeze action, isolate athlete |
On cameras like the Nikon Z6 III, Sony A7 IV, or Canon EOS R6 Mark II, the native base ISO is 100, and high-ISO performance stays clean up to ISO 6400 or beyond. On APS-C bodies such as the Fujifilm X-T5 or Sony A6700, expect roughly one stop more noise at equivalent ISO values, so keep ISO one stop lower when possible.
Real-World Tips from Experienced Photographers
Years of shooting in Manual mode reveal patterns that tutorials rarely cover. These tips come from common field experience across wedding, landscape, and street photography.
Meter once, shoot many. In a controlled environment like a wedding reception hall, take one test shot, dial in the exposure, and shoot the rest of the event without touching the settings unless the lighting changes. This is far faster than letting the camera re-meter every frame and produces consistent files that batch-edit beautifully in Lightroom.
Chimp early, trust later. “Chimping” (checking the LCD after every shot) is often criticized, but in Manual mode it is smart practice during the first few frames of a new scene. Review the histogram, confirm the exposure, then put the screen away and focus on the moment.
Memorize your go-to settings. After a few months, you will develop personal presets. A wedding photographer might know that reception halls are almost always f/2.8, 1/125s, ISO 3200 with white balance set to tungsten. A landscape photographer knows that a sunny midday scene is f/8, 1/250s, ISO 100 (sometimes called the “Sunny 16” neighborhood). These mental shortcuts let you dial in settings before the camera is at your eye.
Use exposure compensation thinking in Manual. Even though Manual mode has no formal exposure compensation, the concept still applies. If you know a snow scene will fool your meter by two stops, set the meter to +2 rather than 0. Over time you will learn the biases of your camera’s metering system.
Bracket important shots. When the light is tricky and the moment is fleeting, take three frames: one at the metered exposure, one a stop under, and one a stop over. You can do this manually in seconds by spinning the shutter speed dial. It costs nothing and has saved countless shots where the meter was wrong.
Common Mistakes to Avoid
Even photographers who understand the theory make these errors in the field.
Forgetting to reset ISO after a dark scene. You push ISO to 6400 for an indoor shot, step outside into bright sun, and wonder why the images are blown out. Make it a habit to glance at your ISO when changing environments.
Using the same settings for every subject. Manual mode is about intentional choices, not set-and-forget. A portrait at f/11 wastes the background blur that makes faces pop. A landscape at f/1.8 leaves most of the scene out of focus. Match the settings to the creative goal.
Relying solely on the rear LCD in bright sunlight. The screen looks darker outdoors, tricking you into overexposing. Trust the histogram instead. If your camera has an electronic viewfinder, review shots there for a more accurate brightness read.
Changing all three settings at once. When the exposure is wrong, adjust one variable at a time. Changing aperture, shutter speed, and ISO simultaneously makes it impossible to know which adjustment fixed the problem and which made it worse.
Ignoring the reciprocal rule for shutter speed. Shooting a 200mm lens at 1/60s handheld will produce camera shake in almost every frame. Always check that your shutter speed is at least 1/(focal length) when shooting without a tripod or stabilization.
Frequently Asked Questions
Is Manual mode always better than Aperture Priority or Shutter Priority? No. Manual mode is best when lighting is consistent and you want identical exposure across a series of shots, such as studio work, events in a single room, or product photography. In rapidly changing light — like street photography moving between sun and shade — Aperture Priority with exposure compensation is often faster and more reliable. The best mode is whichever one gets you the shot you want.
How long does it take to learn Manual mode? Most photographers feel comfortable after one to two weeks of daily practice. The first few sessions are slow because you are actively thinking about every setting. By the end of the first week, adjusting aperture, shutter speed, and ISO starts to feel automatic. Within a month, you will switch between settings as naturally as steering a car.
What is the best camera for learning Manual mode? Any camera with a dedicated mode dial and physical controls works well. Entry-level mirrorless bodies like the Nikon Z50 II, Canon EOS R50, or Sony A6400 — featured in our best mirrorless cameras for beginners guide — all offer full Manual mode with clear viewfinder displays. The key is having a camera where you can adjust aperture and shutter speed with separate dials without entering menus, which makes the learning process far more intuitive.
Build the Habit
Commit to one week of shooting exclusively in Manual mode. The first day will feel slow. By day three, you will adjust settings without thinking. By the end of the week, you will understand exposure intuitively — and you will have a skill that lasts the rest of your photography life.
You might also like
How to Use the Histogram in Photography
Master histogram reading to nail exposure every time. Learn about clipping warnings, expose to the right, and practical histogram use in the field.
How to Shoot Silhouettes: A Step-by-Step Guide
Master silhouette photography with backlighting techniques, exposure metering tips, subject selection, and creative composition ideas.
How to Photograph Sunsets Like a Pro
Capture stunning sunset photos with the right exposure settings, silhouette techniques, graduated filters, and HDR methods.