The Exposure Triangle: Aperture, Shutter Speed, and ISO Explained
Master the three pillars of exposure. Learn how aperture, shutter speed, and ISO work together to control your camera and create better photos.

Every photograph is the result of three settings working together: aperture, shutter speed, and ISO. Understanding how they interact is the single most important skill in photography. Once you grasp this “exposure triangle,” you’ll have creative control over every image you take.
Aperture: Controlling Light and Depth
Aperture is the opening in your lens that lets light through. It’s measured in f-stops: f/1.4, f/2.8, f/4, f/5.6, f/8, f/11, f/16, and so on.
The confusing part: Smaller f-numbers mean larger openings. f/1.4 lets in far more light than f/16.
What Aperture Controls
- Light intake — wider apertures (f/1.4-f/2.8) let in more light, useful in dim conditions
- Depth of field — wider apertures create a shallow depth of field (blurry background), while narrow apertures (f/8-f/16) keep more of the scene sharp
When to Use What
- f/1.4 – f/2.8: Portraits, low light, artistic bokeh
- f/4 – f/5.6: General purpose, group photos, street photography
- f/8 – f/11: Landscapes, architecture (sharpest range for most lenses)
- f/16 – f/22: Maximum depth of field, starbursts from point lights
Most lenses produce their sharpest images between f/5.6 and f/11. Beyond f/16, diffraction softens the image.
Shutter Speed: Controlling Motion
Shutter speed determines how long your sensor is exposed to light. It’s measured in fractions of a second: 1/4000, 1/1000, 1/250, 1/60, 1/15, 1”, 30”, etc.
What Shutter Speed Controls
- Light duration — longer exposures capture more light
- Motion rendering — fast speeds freeze action, slow speeds blur motion
When to Use What
- 1/4000 – 1/1000: Freezing fast action (sports, birds in flight, splashing water)
- 1/500 – 1/250: General action, kids playing, casual movement
- 1/125 – 1/60: Stationary subjects, street photography, walking pace
- 1/30 – 1/15: Intentional slight blur, handheld minimum for stabilized cameras
- 1” – 30”: Long exposures (waterfalls, light trails, star trails) — tripod required
Rule of thumb for handheld stability: Your shutter speed should be at least 1/(focal length). With a 50mm lens, use at least 1/50s. With a 200mm lens, use at least 1/200s. In-body stabilization lets you go 3-5 stops slower.
ISO: Controlling Sensor Sensitivity
ISO controls how sensitive your sensor is to light. Base ISO is typically 100 or 200 (cleanest image). Higher numbers (800, 1600, 3200, 6400+) amplify the signal, making the image brighter but adding noise.
When to Use What
- ISO 100-200: Bright daylight, studio lighting (cleanest)
- ISO 400-800: Overcast days, shade, golden hour
- ISO 1600-3200: Indoor natural light, evening events
- ISO 6400+: Night photography, concerts, dimly lit interiors
Modern cameras handle high ISO remarkably well. A Sony A7 IV at ISO 6400 produces cleaner images than cameras from 10 years ago produced at ISO 800.
The Noise vs Shot Trade-off
A noisy photo is almost always better than a blurry one. Don’t be afraid to raise ISO when you need a fast enough shutter speed. You can reduce noise in post-processing. You can’t fix motion blur. For more techniques on handling dim environments, see our tips on how to shoot in low light without flash.
How the Triangle Works Together
The three settings are interconnected. If you change one, you must compensate with another to maintain the same exposure:
- Open the aperture wider (more light) → you can use a faster shutter speed or lower ISO
- Slow down the shutter (more light) → you can close the aperture or lower ISO
- Raise the ISO (more sensitivity) → you can use a faster shutter or narrower aperture
Example Scenarios
Scenario 1: Bright outdoor portrait You want a blurry background (wide aperture) in strong sunlight:
- Aperture: f/2.8 (for bokeh)
- ISO: 100 (plenty of light)
- Shutter: 1/2000 (fast, to avoid overexposure)
Scenario 2: Indoor event You need to freeze a speaker on stage in a dim auditorium:
- Shutter: 1/250 (freeze movement)
- Aperture: f/2.8 (let in maximum light)
- ISO: 3200 (compensate for dim lighting)
Scenario 3: Waterfall long exposure You want silky-smooth water in daylight:
- Shutter: 1” (smooth the water)
- Aperture: f/16 (reduce light, maximize sharpness)
- ISO: 100 (minimum light sensitivity)
- ND filter: required to avoid overexposure at these settings
Moving Beyond Auto Mode
Most beginners start in Auto or Program mode. Here’s a progression path:
- Aperture Priority (A/Av): You control aperture; the camera handles shutter speed. Best for learning depth of field.
- Shutter Priority (S/Tv): You control shutter speed; the camera handles aperture. Best for learning motion control.
- Manual (M): You control everything. Best for tricky lighting and creative control.
There’s no shame in using Aperture Priority — many professionals use it for 90% of their shooting. The camera’s metering system is excellent. But understanding Manual mode means you can always take over when the camera gets confused. If you’re ready to make the leap, our guide on how to use manual mode on your camera walks you through the process step by step.
Practice Exercise
Take your camera and shoot the same scene at these three aperture settings:
- f/2.8 (or your lens’s widest)
- f/8
- f/16
Compare the depth of field, sharpness, and overall look. Then do the same exercise with shutter speed (1/1000, 1/60, 1/4 on a tripod) and with ISO (100, 1600, 6400).
The exposure triangle will click once you see the results with your own images. To evaluate your exposures more precisely, learn how to use the histogram in photography — it is the most reliable way to judge whether your settings are correct.
You might also like
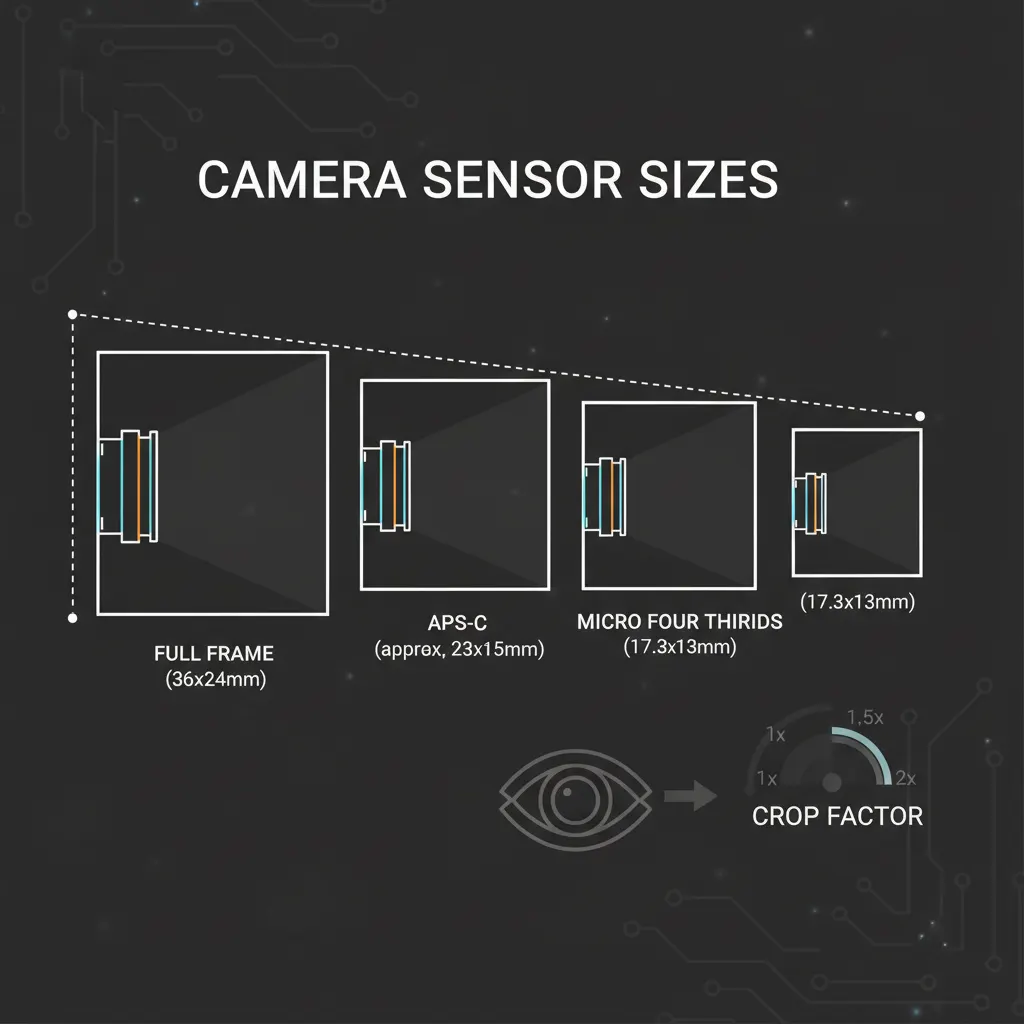
Camera Sensor Sizes Explained: Full-Frame, APS-C, and Micro Four Thirds
Understand how sensor size affects image quality, depth of field, and low-light performance. A complete guide to camera sensor formats.
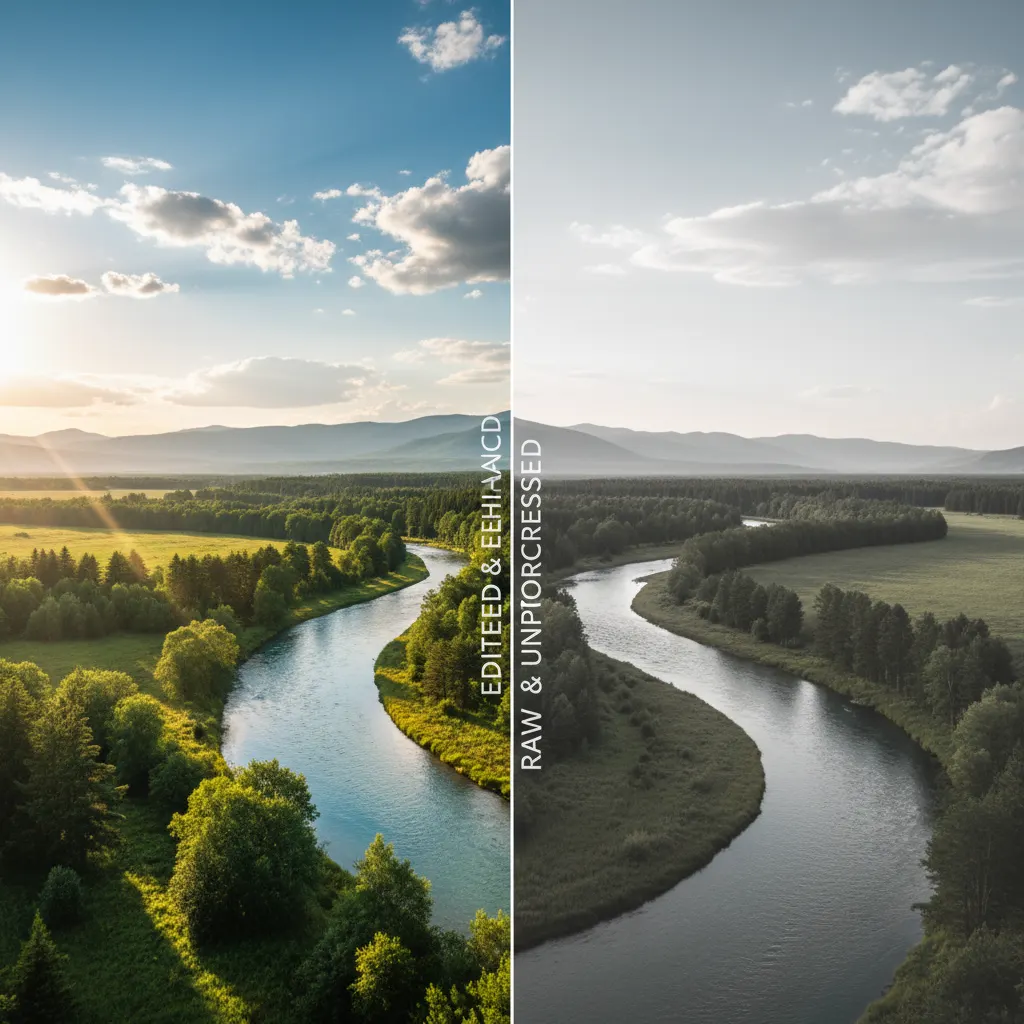
RAW vs JPEG: When to Shoot Each Format
Should you shoot RAW or JPEG? We explain the differences, advantages of each format, and when to use them for the best results.
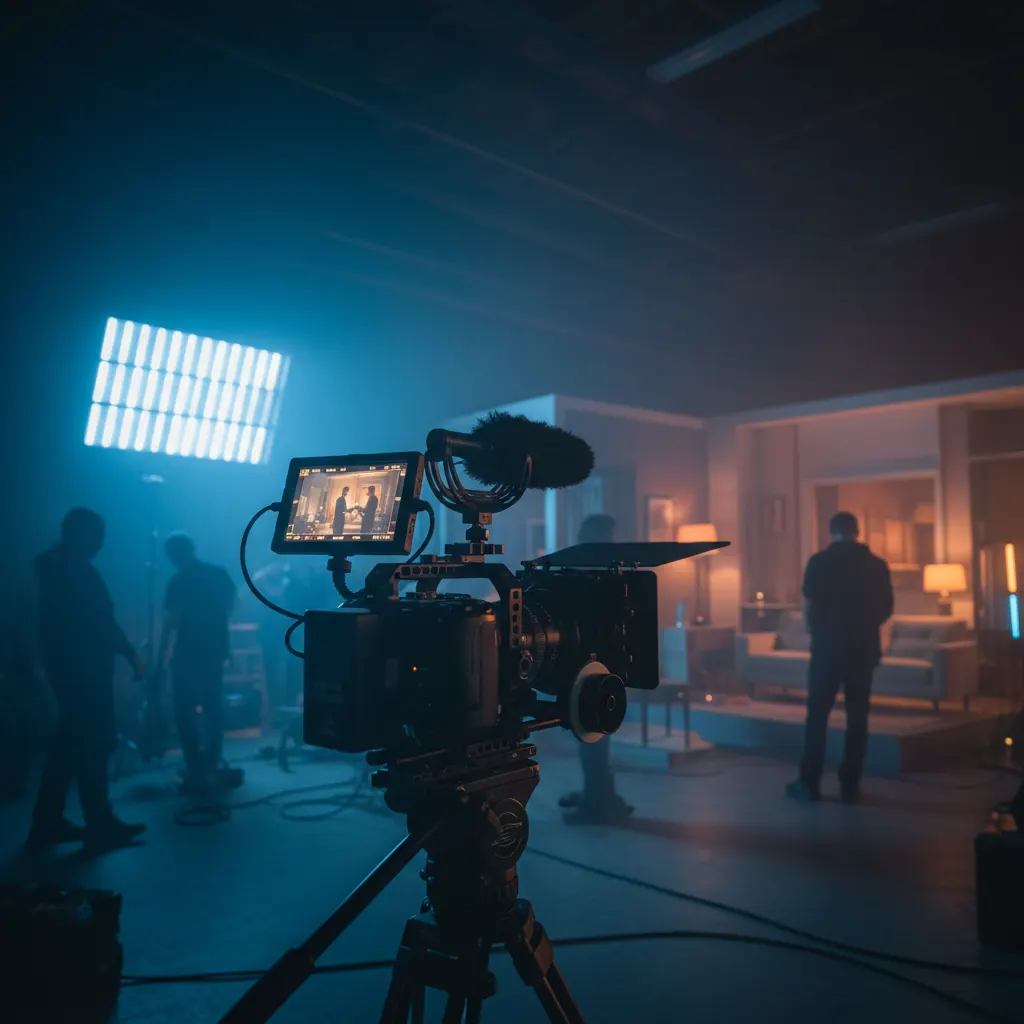
Best Cameras for Video and Content Creation in 2026
YouTube, TikTok, or client work — we review the best cameras for video content creators at every level and budget.