How to Shoot Macro Photography
Master macro photography with practical tips on focus stacking, lighting, affordable gear options, and techniques for stunning close-up images.
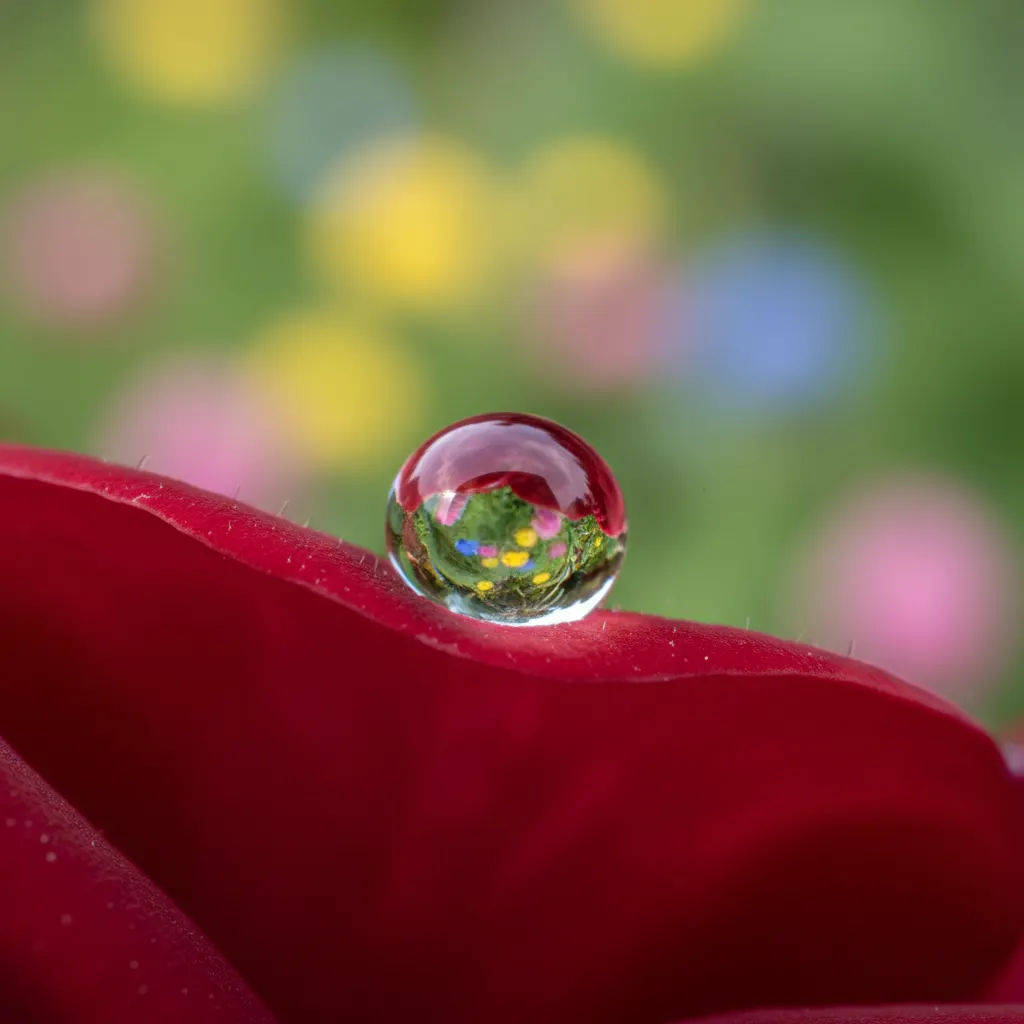
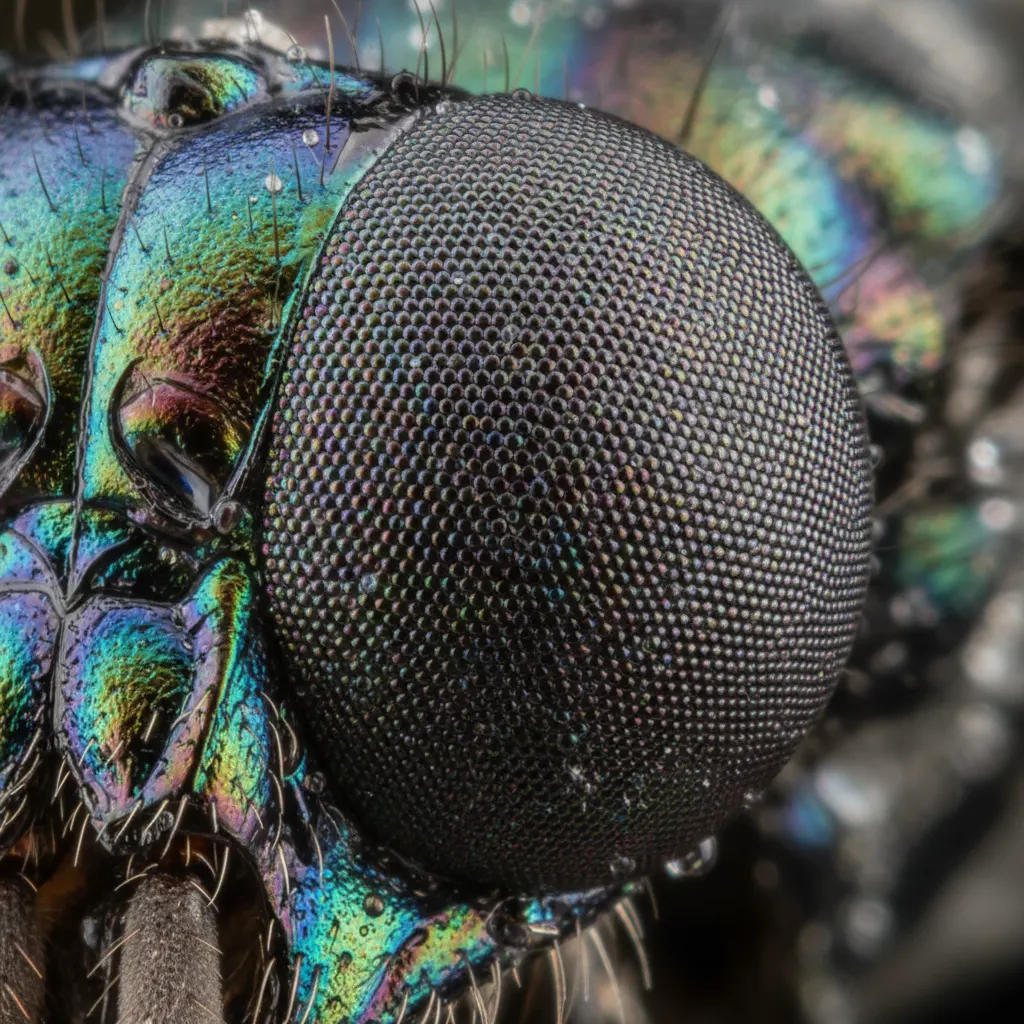
Macro photography reveals a world invisible to the casual observer. The veins of a leaf, the compound eye of an insect, water droplets clinging to a spider web — these details become the subject when you get close enough. The good news is that macro photography does not require expensive gear to get started.
What Counts as Macro?
True macro photography means a 1:1 magnification ratio — the subject is projected onto the camera sensor at its actual size. A 10mm insect occupies 10mm on the sensor. Many lenses labeled “macro” only reach 1:2 or 1:4 ratios, which is close-up photography rather than true macro. Both produce compelling images, but understanding the distinction helps when choosing gear.
Gear Options for Every Budget
Dedicated Macro Lens (Best Quality)
A true macro lens with 1:1 reproduction is the gold standard. Popular options include:
- Nikon 105mm f/2.8 VR Macro — Excellent working distance for insects.
- Canon RF 100mm f/2.8L Macro — Superb optics with a unique spherical aberration control ring.
- Sony 90mm f/2.8 Macro — Sharp, reliable, and works well on both full-frame and APS-C bodies.
- Sigma 105mm f/2.8 DG DN Macro — Outstanding quality at a lower price.
- Laowa 100mm f/2.8 2x Ultra Macro — Goes beyond 1:1 to 2:1 magnification.
Focal lengths of 90mm to 105mm are ideal because they provide enough working distance between the lens and the subject — critical for skittish insects.
Extension Tubes (Budget-Friendly)
Extension tubes are hollow spacers that fit between your camera body and lens. They have no glass elements, so they do not degrade image quality. They push the lens farther from the sensor, reducing the minimum focus distance and increasing magnification.
A set of extension tubes (12mm, 20mm, 36mm) costs $10 to $80 and turns any lens into a close-up tool. The trade-off is that you lose the ability to focus at infinity — the lens can only focus on nearby subjects.
Close-Up Diopter Filters
These screw onto the front of your lens like a filter. They act as magnifying glasses, reducing the minimum focus distance. Quality varies widely. Budget diopters introduce softness and chromatic aberration, but high-quality options like the Canon 500D or Raynox DCR-250 deliver impressive results for their price.
Reversing Ring
A reversing ring mounts your lens backwards on the camera body. A reversed 50mm f/1.8 delivers approximately 1:1 magnification at virtually no cost. The downside is that you lose autofocus, aperture control (on many lenses), and weather sealing. It is a fun technique to experiment with but impractical for regular use.
Camera Settings for Macro
Aperture
Depth of field is razor-thin in macro photography — even more so than in regular photography, where understanding aperture, shutter speed, and ISO is already essential. At 1:1 magnification, even f/16 gives you only a few millimeters of sharpness. Typical settings:
- f/5.6 to f/8 — Good balance between sharpness and depth of field for general close-ups.
- f/11 to f/16 — Maximum practical depth of field for macro. Beyond f/16, diffraction noticeably softens the image.
- f/2.8 to f/4 — Use for artistic shots where you want an extremely shallow, dreamy focus plane.
Shutter Speed
At high magnification, even tiny camera movements are amplified. Use at least 1/200s if shooting handheld. With a tripod, you can use any speed. For tips on consistently sharp results, see our guide on how to take sharp photos every time.
ISO
Keep ISO as low as practical (100 to 400) for clean files. In the field without a tripod, you may need to push to ISO 800 to 1600 to maintain a fast enough shutter speed.
Focus Mode
Switch to manual focus. Autofocus systems struggle at macro distances, and the margin for error is so small that manual control is more reliable. Many macro photographers set a fixed focus distance and then physically move the camera forward or backward to achieve focus.
The Critical Skill: Focus Stacking
Since depth of field is so limited, many macro images are actually composites of multiple shots focused at different points. This technique is called focus stacking.
How to Focus Stack
- Mount your camera on a tripod. The camera must not move between frames — check our guide to the best tripods for photography for stable options suited to close-up work.
- Set your aperture to f/5.6 to f/8. This gives the sharpest individual frames without diffraction.
- Focus on the nearest point of your subject. Take a shot.
- Shift the focus slightly deeper into the subject. Take another shot.
- Repeat until you have covered the entire depth of the subject. For a small insect, this might be 10 to 30 frames. For a larger object, 5 to 10 may suffice.
- Merge the images in software. Photoshop (Edit > Auto-Blend Layers), Helicon Focus, or the free Zerene Stacker trial will align the frames and combine the sharpest areas from each one. Our Lightroom editing guide for beginners covers the post-processing fundamentals you will need after merging.
Some cameras have built-in focus bracketing that automates steps 3 through 5. Check your camera menu — this feature is increasingly common in mirrorless cameras.
Lighting for Macro
Natural Light
Overcast days provide soft, even illumination that works beautifully for macro subjects like flowers and still life. Direct sunlight creates harsh shadows at close range. If shooting in sun, use a small diffuser (even a sheet of white paper held above the subject) to soften the light.
Ring Light or Ring Flash
A ring light mounts around the front of the lens and provides shadowless, even illumination. LED ring lights offer continuous light so you can see exactly how the subject looks before shooting. Ring flashes are more powerful and freeze motion.
Twin Flash Systems
Two small flash heads mounted on either side of the lens let you control the direction and ratio of light. This creates more dimensionality than a ring light. Canon, Nikon, and third-party brands all offer twin macro flash systems.
DIY Diffused Flash
A regular speedlight with a homemade diffuser (a piece of white plastic or a small softbox) positioned above and slightly to the side of the subject produces excellent results. This is the most affordable macro lighting setup that delivers professional quality.
Field Techniques for Insects
Photographing live insects is one of the most challenging and rewarding applications of macro. If you enjoy photographing creatures in the wild, our guide to the best cameras for wildlife photography explores gear suited to outdoor shooting.
- Shoot early morning when insects are cold and sluggish, often covered in dew.
- Approach slowly and avoid casting your shadow over the subject.
- Pre-focus your lens to approximately the right distance, then lean in slowly until focus locks.
- Use burst mode. At macro distances, even your breathing moves the focal plane. Taking 5 to 10 rapid frames increases your chances of nailing the focus.
- Aim for the eyes. If only a tiny sliver of the image is in focus, make sure it is the eyes. A sharp eye draws the viewer in, even if the rest of the body is soft.
Recommended Camera Settings Table
| Subject | Aperture | Shutter Speed | ISO | Focus Method |
|---|---|---|---|---|
| Insect (handheld, natural light) | f/5.6 – f/8 | 1/250s+ | 400 – 1600 | Manual, rock forward |
| Insect (with flash) | f/11 – f/16 | 1/200s (sync speed) | 100 – 200 | Manual |
| Flower (tripod, natural light) | f/4 – f/8 | 1/60s – 1/15s | 100 – 200 | Manual or Live View |
| Focus stack (tripod) | f/5.6 – f/8 | 1/30s – 1s | 100 | Manual, incremental shifts |
| Water droplets | f/8 – f/11 | 1/200s (flash) | 100 | Manual |
| Textures and patterns | f/8 – f/11 | 1/125s+ | 100 – 400 | Manual |
For handheld insect photography, experienced macro shooters like Thomas Shahan recommend shooting at f/8 with a diffused flash, keeping ISO at 100 to 200, and relying on the flash duration (typically 1/10000s or faster) to freeze both camera shake and subject movement. This approach consistently produces sharper results than increasing shutter speed alone.
Common Mistakes to Avoid
- Shooting at f/2.8 for everything. Wide apertures produce beautiful bokeh in portrait photography, but at macro magnifications the depth of field becomes so thin (often under 1mm at f/2.8) that critically sharp results are nearly impossible without focus stacking. Start at f/8 and stop down from there.
- Ignoring wind. Even a gentle breeze moves flower stems and insect perches by several millimeters — enough to ruin focus at macro distances. Shoot early morning when air is still, or use a Wimberley Plamp to gently clamp stems in place.
- Chasing insects in midday heat. Insects are fastest and most alert during warm afternoons. Photograph them at dawn when cool temperatures make them sluggish, often perching motionless on grass tips covered in dew.
- Relying on autofocus. Even the best AF systems hunt constantly at macro magnifications. Switch to manual focus, pre-set your magnification, and move your body or a focusing rail to achieve critical sharpness.
- Forgetting the background. A cluttered background at f/11 competes with the subject. Shift your shooting angle by a few centimeters to place a distant, uniform area (sky, shadowed foliage) behind your subject for a clean, non-distracting backdrop.
Composition Tips
- Fill the frame. Get close enough that your subject dominates the image. Empty space around a small subject weakens the impact.
- Simplify the background. A wide aperture (f/2.8 to f/4) blurs the background into smooth, non-distracting color. Choose shooting angles where the background is distant and uncluttered.
- Use diagonal lines. Position elongated subjects — a stem, an insect’s body, a feather — along a diagonal for dynamic composition.
- Look for patterns and symmetry. Nature is full of repeating patterns at the macro level. The spiral of a snail shell, the symmetry of a butterfly’s wings, the grid of a sunflower center.
Start With What You Have
You do not need a dedicated macro lens to begin. A set of extension tubes on a 50mm lens gets you into the macro world for under $30. Spend time learning to manage focus and light at close distances. If you find yourself hooked — and most people do — then invest in a proper macro lens. The skills you build with basic gear will transfer directly.
Frequently Asked Questions
What is the best macro lens for beginners?
The Sigma 105mm f/2.8 DG DN Macro Art is widely considered the best value true macro lens for beginners. It offers 1:1 magnification, excellent optical quality, and is available for Sony E-mount and Leica L-mount at a significantly lower price than first-party alternatives. For Canon RF shooters, the Canon RF 100mm f/2.8L Macro IS USM adds unique spherical aberration control. For Nikon Z users, the Nikon Z MC 105mm f/2.8 VR S delivers outstanding sharpness. All three lenses provide roughly 30 cm of working distance at 1:1 magnification, which is enough to photograph insects without scaring them away.
Do I need a flash for macro photography?
A flash is not strictly required, but it dramatically improves results. At macro magnifications, you need small apertures (f/8 to f/16) for adequate depth of field, which limits the light reaching the sensor. Without a flash, you must raise ISO or slow the shutter speed, both of which degrade sharpness. A simple diffused speedlight — even a budget Godox TT350 or Yongnuo YN560 IV bounced through a small DIY diffuser — provides enough light to shoot at f/11, ISO 200, and 1/200s, freezing motion and producing clean files.
Can I do macro photography with a smartphone?
Modern smartphones struggle with true macro on their own, but clip-on macro lenses (like the Moment Macro or Xenvo Pro) add close-focus capability for about $20 to $100. The results will not match a dedicated camera and lens, but they are surprisingly good for social media and casual exploration. Some newer phones, such as the iPhone 15 Pro and Samsung Galaxy S24 Ultra, include a dedicated macro mode that uses the ultrawide camera for close-up shots down to about 2 cm focusing distance.
You might also like
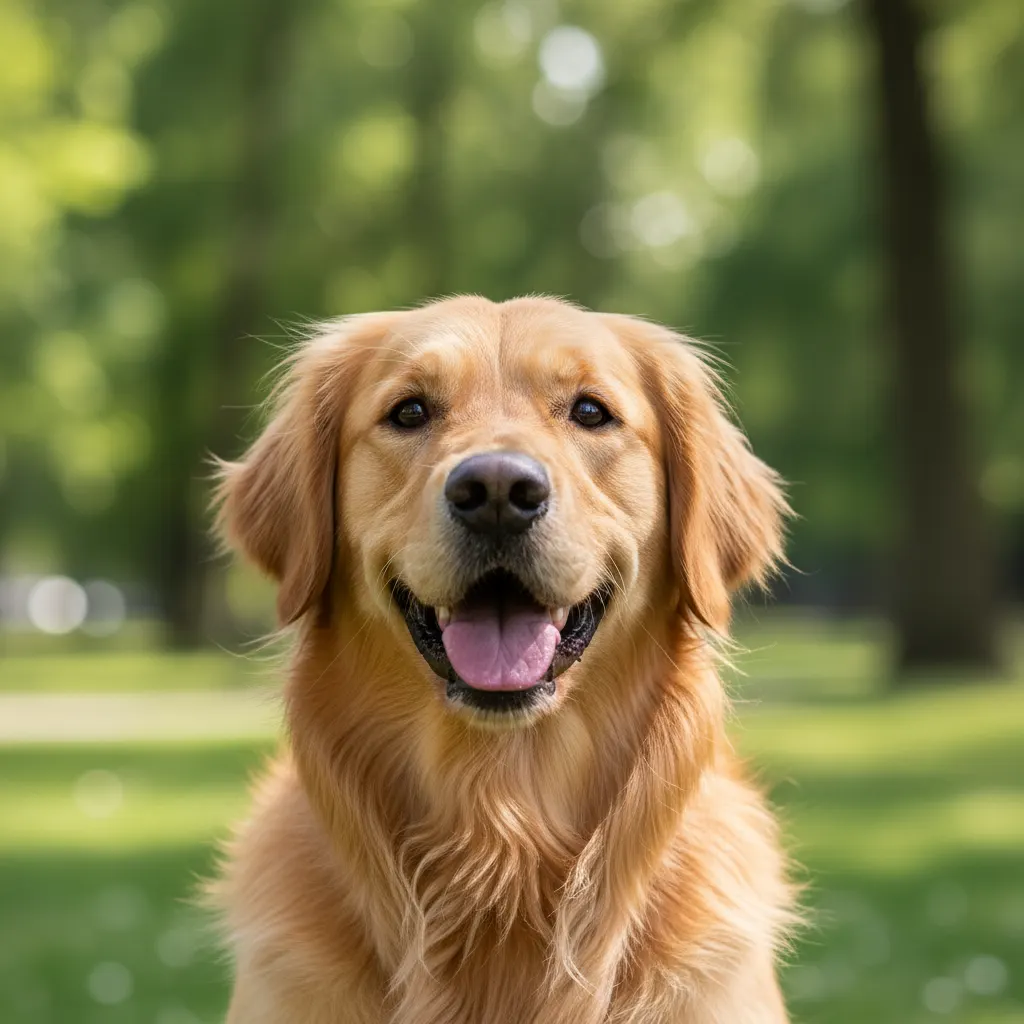
How to Photograph Pets and Animals Like a Pro
Get sharp, expressive pet photos with tips on eye-level shooting, burst mode, lighting, action shots, and patience techniques.
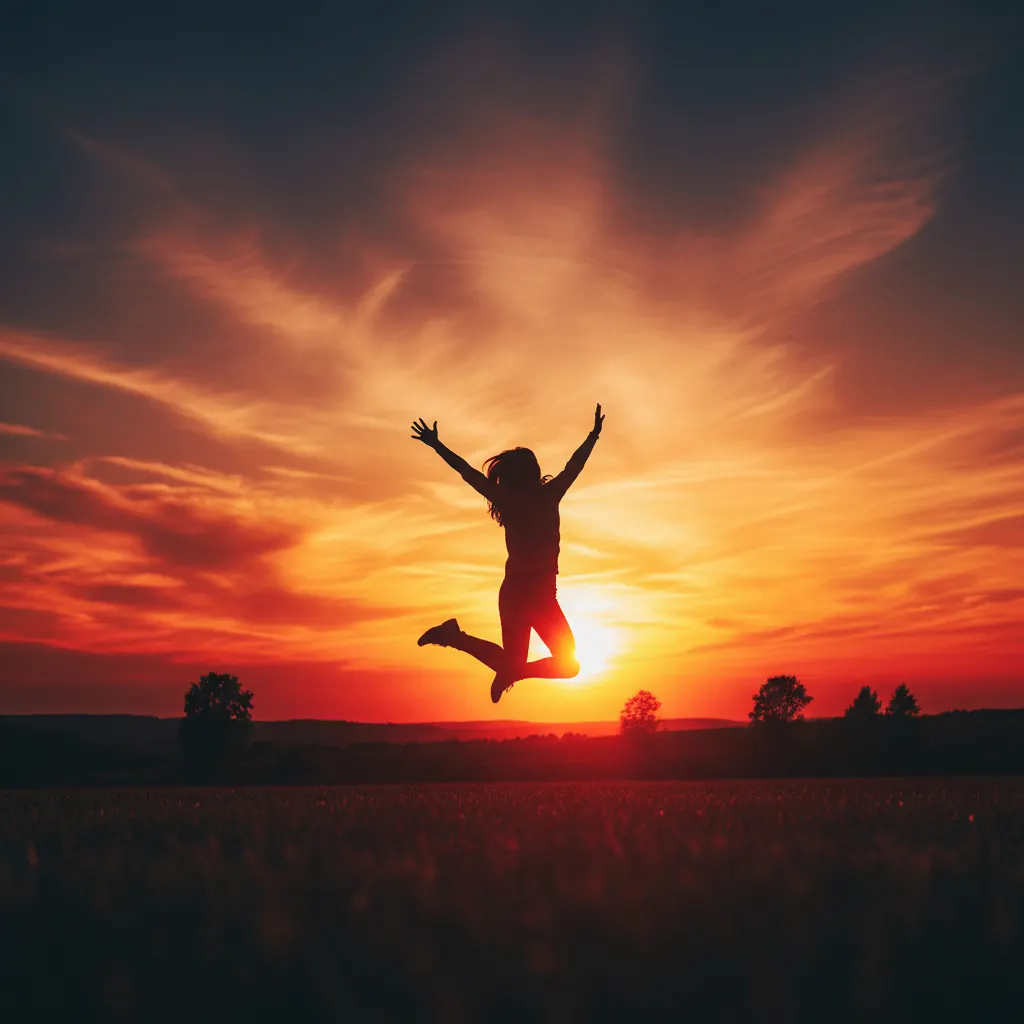
How to Shoot Silhouettes: A Step-by-Step Guide
Master silhouette photography with backlighting techniques, exposure metering tips, subject selection, and creative composition ideas.
Time-Lapse Photography Tutorial: From Setup to Final Video
Learn how to create stunning time-lapse videos with the right intervalometer setup, camera settings, post-processing workflow, and gear.