How to Photograph the Night Sky
A beginner's guide to astrophotography covering camera settings, essential gear, planning tips, and how to deal with light pollution.
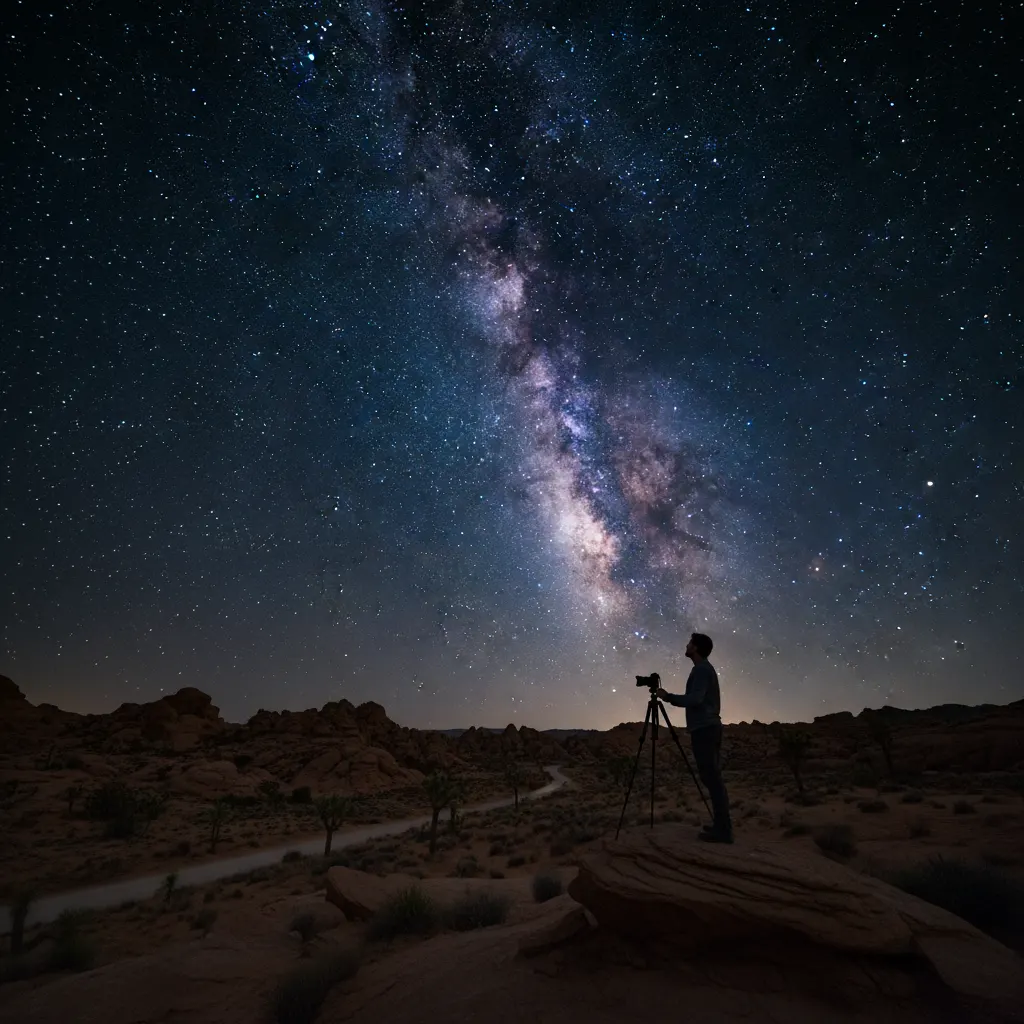
Few things in photography are as rewarding as capturing the night sky. Seeing the Milky Way stretch across your image — details invisible to the naked eye — feels almost magical. Astrophotography has a reputation for being difficult, but with modern cameras and some basic knowledge, anyone can get started.
What You Need
Camera
Any camera that lets you shoot in Manual mode and handle high ISO values will work. Full-frame cameras perform best because their larger sensors collect more light and produce less noise at high ISOs — our guide on camera sensor sizes explained covers why sensor size matters so much. However, APS-C and Micro Four Thirds cameras can deliver excellent results too.
Key features to look for:
- Manual mode with Bulb option
- High ISO capability (usable results at ISO 3200 or above)
- RAW file format support
Lens
A fast, wide-angle lens is the single most important piece of astrophotography gear. Look for:
- Focal length: 14mm to 24mm on full-frame (10mm to 16mm on APS-C). Wider focal lengths capture more sky.
- Maximum aperture: f/2.8 or faster. f/1.8 or f/1.4 lenses collect significantly more light, letting you use lower ISO values.
Popular affordable options include the Rokinon/Samyang 14mm f/2.8 and the Sigma 16mm f/1.4 for APS-C cameras.
Tripod
A sturdy tripod is essential. Night sky exposures run 10 to 30 seconds, and any movement will turn stars into streaks. Make sure the tripod head locks securely — see our picks for the best tripods for photography if you need a recommendation.
Other Useful Gear
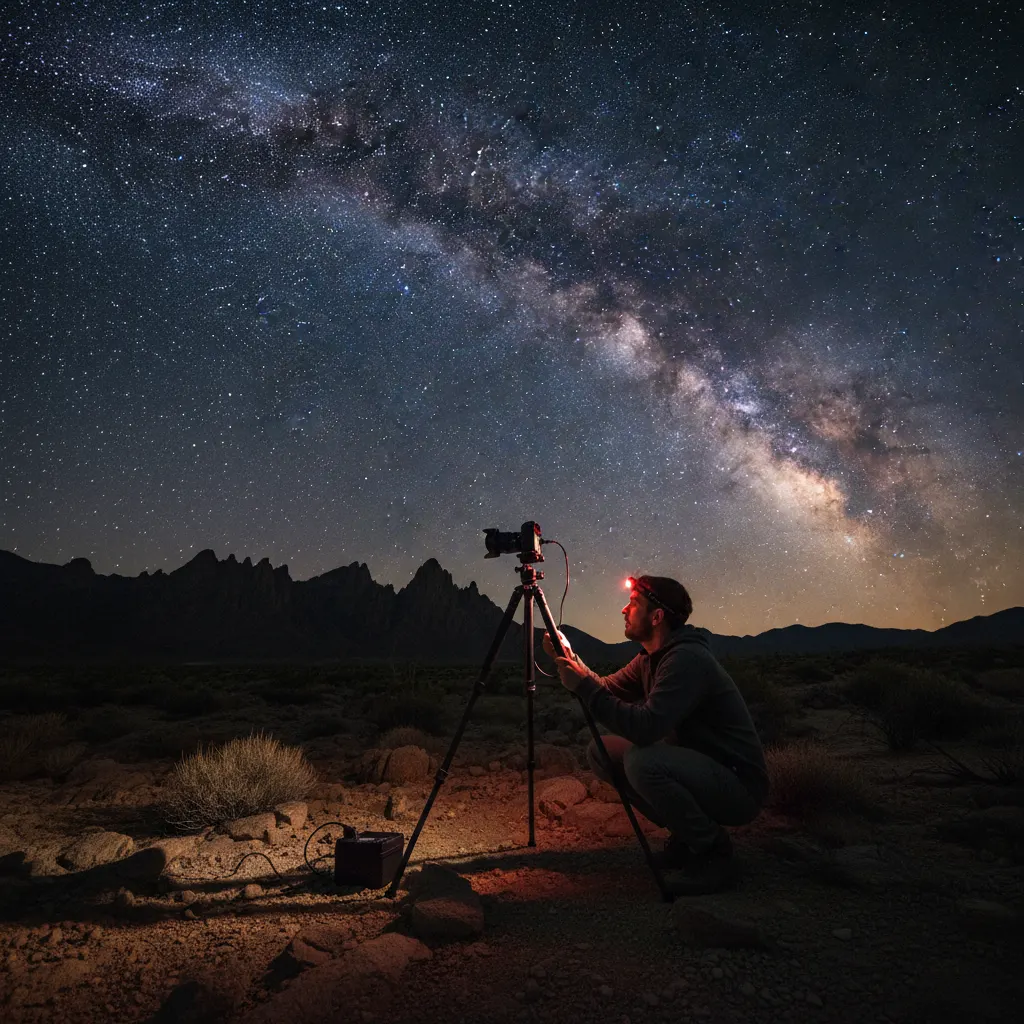
- Headlamp with red light mode — preserves your night vision while you adjust settings.
- Remote shutter release — prevents vibration when triggering the shutter.
- Extra batteries — cold temperatures and long exposures drain batteries quickly.
- Lens warmer or hand warmers — prevents dew from forming on the front element during long sessions.
Planning Your Shoot
Find Dark Skies
Light pollution is the biggest obstacle to astrophotography. Use tools like Light Pollution Map (lightpollutionmap.info) or the Dark Sky Finder app to locate areas with minimal artificial light. Even driving 30 to 60 minutes away from a city can make a dramatic difference.
The Bortle Scale rates sky darkness from 1 (pristine) to 9 (inner city). Aim for Bortle 4 or darker for Milky Way photography.
Check the Moon Phase
A bright moon washes out faint stars and the Milky Way. Shoot during a new moon or within a few days of it. If the moon is up, plan your session for after it sets or before it rises.
Know When the Milky Way Is Visible
In the Northern Hemisphere, the Milky Way core is best visible from March through October, with the most dramatic views in summer. Apps like Stellarium, PhotoPills, or Sky Guide show exactly where and when the galactic core will appear above the horizon.
Check the Weather
Clear skies are mandatory. Cloud cover, haze, and humidity all degrade results. Check hourly forecasts and satellite imagery before heading out.
Camera Settings
The 500 Rule (and the NPF Rule)
To avoid star trails, you need to limit your exposure time. If you’re new to controlling shutter speed manually, our guide on understanding aperture, shutter speed, and ISO covers the fundamentals. The classic 500 Rule divides 500 by your focal length to get the maximum shutter speed in seconds.
- 14mm lens on full-frame: 500 / 14 = ~35 seconds
- 24mm lens on full-frame: 500 / 24 = ~20 seconds
- 16mm lens on APS-C (24mm equivalent): 500 / 24 = ~20 seconds
For sharper results with modern high-resolution sensors, use the stricter NPF Rule, which accounts for pixel size. Apps like PhotoPills calculate this automatically. In practice, 15 to 25 seconds is a safe range for most setups.
Recommended Starting Settings
| Setting | Value |
|---|---|
| Mode | Manual (M) |
| Aperture | Wide open (f/1.4, f/1.8, or f/2.8) |
| Shutter speed | 15 to 25 seconds (use 500 Rule) |
| ISO | 3200 to 6400 |
| Focus | Manual |
| White balance | ~4000K (or adjust in post) |
| File format | RAW |
| Image stabilization | Off |
| Long exposure noise reduction | Off (do it in post instead) |
Focusing in the Dark
Autofocus fails in darkness. Use these methods to focus manually:
- Live View + magnification: Switch to Live View, point at a bright star or distant light, magnify 5x or 10x, and turn the focus ring until the point of light is as small and sharp as possible.
- Infinity mark: Some lenses have an infinity mark on the focus ring, but it is rarely perfectly accurate. Use it as a starting point, then fine-tune with Live View.
- Test and check: Take a test shot, zoom in on the LCD to check star sharpness, and adjust as needed. Once locked, do not touch the focus ring — or tape it in place.
Shooting Techniques
Single Exposures
For a single Milky Way shot, use the settings above and compose with an interesting foreground — a mountain, a tree, a building. Foreground elements give the image scale and context.
Stacking for Noise Reduction
This technique builds on the same principles used in long exposure photography. Take 10 to 20 identical exposures of the same patch of sky. In post-processing, software like Sequator (free, Windows) or Starry Landscape Stacker (Mac) aligns the stars across frames and averages out the noise. The result is dramatically cleaner than a single exposure.
Star Trails
Instead of fighting star movement, embrace it. Take hundreds of 30-second exposures over one to three hours, then stack them using StarStaX or Photoshop to create circular star trail arcs. Point your camera at Polaris (the North Star) for concentric circles.
Foreground Blending
Sometimes the foreground needs a different exposure than the sky. Take one exposure optimized for the sky and another — perhaps lit with a flashlight — for the foreground. Blend them in Photoshop or similar software.
Post-Processing Astrophotography
RAW files from night sky shoots often look underwhelming straight out of camera. Post-processing brings out the detail.
Basic Adjustments
- Increase exposure slightly if the image is dark.
- Boost contrast to separate the Milky Way from the background sky.
- Raise clarity and dehaze to enhance the structure of the galactic core.
- Adjust white balance to taste. Cooler tones (blue) feel more natural, but many astrophotographers prefer warmer tones to highlight the Milky Way’s golden core.
- Reduce luminance noise aggressively. High ISO images will have noise. Use Lightroom’s noise reduction or dedicated software like Topaz DeNoise AI.
Dealing With Light Pollution Gradients
If one side of the sky is brighter due to distant city lights, use a graduated filter in Lightroom to darken that area and even out the exposure.
Recommended Gear for Astrophotography
Choosing the right camera and lens combination has a major impact on astrophotography results. Here are specific recommendations based on real-world performance data:
- Best Full-Frame Camera: The Sony A7S III excels at night sky photography with its 12.1 MP sensor designed for low-light performance. DxOMark rates its high-ISO performance among the best ever tested, with usable images at ISO 12800. The Nikon Z6 III and Canon EOS R6 Mark II are also excellent choices, both delivering clean files at ISO 6400.
- Best APS-C Camera: The Fujifilm X-T5 offers outstanding value. Paired with the Sigma 16mm f/1.4 DC DN, it covers a wide field of view equivalent to 24mm on full-frame while collecting significantly more light than an f/2.8 lens.
- Best Budget Lens: The Rokinon/Samyang 14mm f/2.8 remains the best value in astrophotography optics. It is fully manual, which is no disadvantage since you focus manually for stars anyway. Expect slight coma in the extreme corners wide open, but stopping down to f/3.5 cleans it up.
- Best Premium Lens: The Sigma 14mm f/1.4 DG DN Art, designed specifically for astrophotography, offers a massive f/1.4 aperture at 14mm. That extra stop over an f/2.8 lens lets you halve your ISO, cutting noise dramatically. At roughly $1,600, it is an investment, but the results speak for themselves.
- Star Tracker: The iOptron SkyGuider Pro or Sky-Watcher Star Adventurer GTi compensates for the Earth’s rotation, allowing exposures of 2 to 4 minutes without star trails. This completely changes what is possible — you can shoot at ISO 800 instead of ISO 6400 and stack fewer frames for a cleaner result.
Common Mistakes to Avoid
- Shooting during a full moon. The moonlight drowns out stars. Always check the moon phase.
- Forgetting to shoot RAW. JPEG files lack the dynamic range needed for astrophotography post-processing. Our guide on RAW vs JPEG and when to use each explains the differences in detail.
- Using too long an exposure. Even slightly oblong stars are noticeable at full resolution. Err on the shorter side of the 500 Rule.
- Ignoring the foreground. A sky full of stars is impressive, but an image with a compelling foreground tells a story.
- Not bringing enough batteries. Cold nights and long exposures consume power fast. Bring at least two fully charged spares.
Start Simple
Your first night sky image does not need to be a masterpiece. Find a reasonably dark location, set your camera to f/2.8, 20 seconds, ISO 3200, focus on a bright star, and press the shutter. When you see those first stars appear on your LCD screen, you will understand why astrophotography is so addictive.
Frequently Asked Questions
What is the best camera setting for photographing the Milky Way?
Set your camera to Manual mode with the widest aperture your lens allows (ideally f/1.4 to f/2.8), a shutter speed of 15 to 20 seconds (calculated using the 500 Rule for your focal length), and ISO 3200 to 6400. Shoot in RAW format with manual focus set to the sharpest point on a bright star using Live View magnification. On a full-frame camera with a 14mm f/2.8 lens, a typical starting point is f/2.8, 25 seconds, ISO 3200.
Can I photograph the Milky Way with a kit lens?
Yes, though results will be noisier. A typical 18-55mm f/3.5-5.6 kit lens at 18mm (on APS-C) can capture the Milky Way. Set it to f/3.5, 20 seconds, and ISO 6400. The slower aperture means you need higher ISO, which introduces more grain. Shooting 15 to 20 frames and stacking them in Sequator or Starry Landscape Stacker dramatically reduces this noise and produces surprisingly clean results even from budget gear.
Do I need to travel far from the city for astrophotography?
For the Milky Way core, yes — you need Bortle 4 or darker skies, which typically means driving 60 to 120 minutes from a major city. However, you can photograph bright constellations, star trails, and the Moon from suburban locations (Bortle 5 to 7). Even in moderate light pollution, a light pollution filter such as the Optolong L-Pro or NiSi Natural Night can reduce orange sodium-vapor glow and improve contrast in the sky.
You might also like

How to Photograph Pets and Animals Like a Pro
Get sharp, expressive pet photos with tips on eye-level shooting, burst mode, lighting, action shots, and patience techniques.
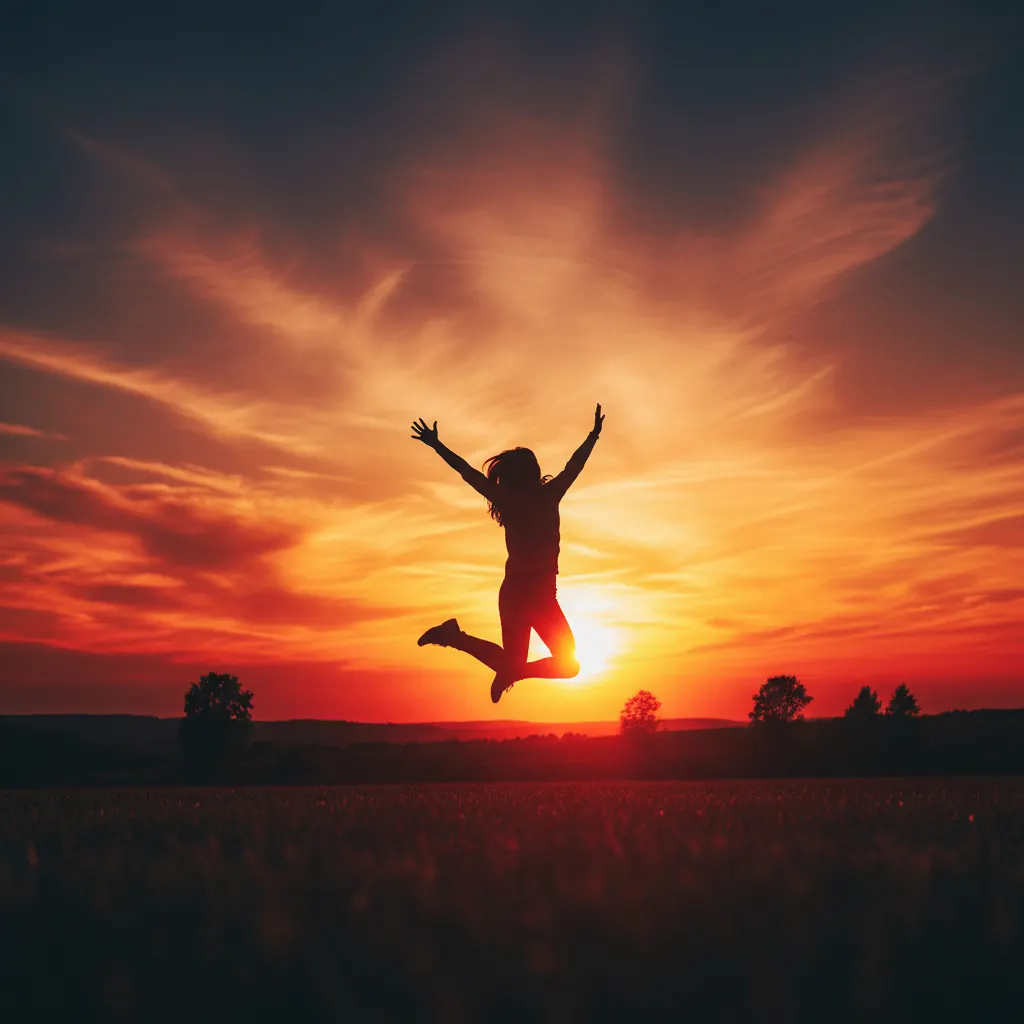
How to Shoot Silhouettes: A Step-by-Step Guide
Master silhouette photography with backlighting techniques, exposure metering tips, subject selection, and creative composition ideas.
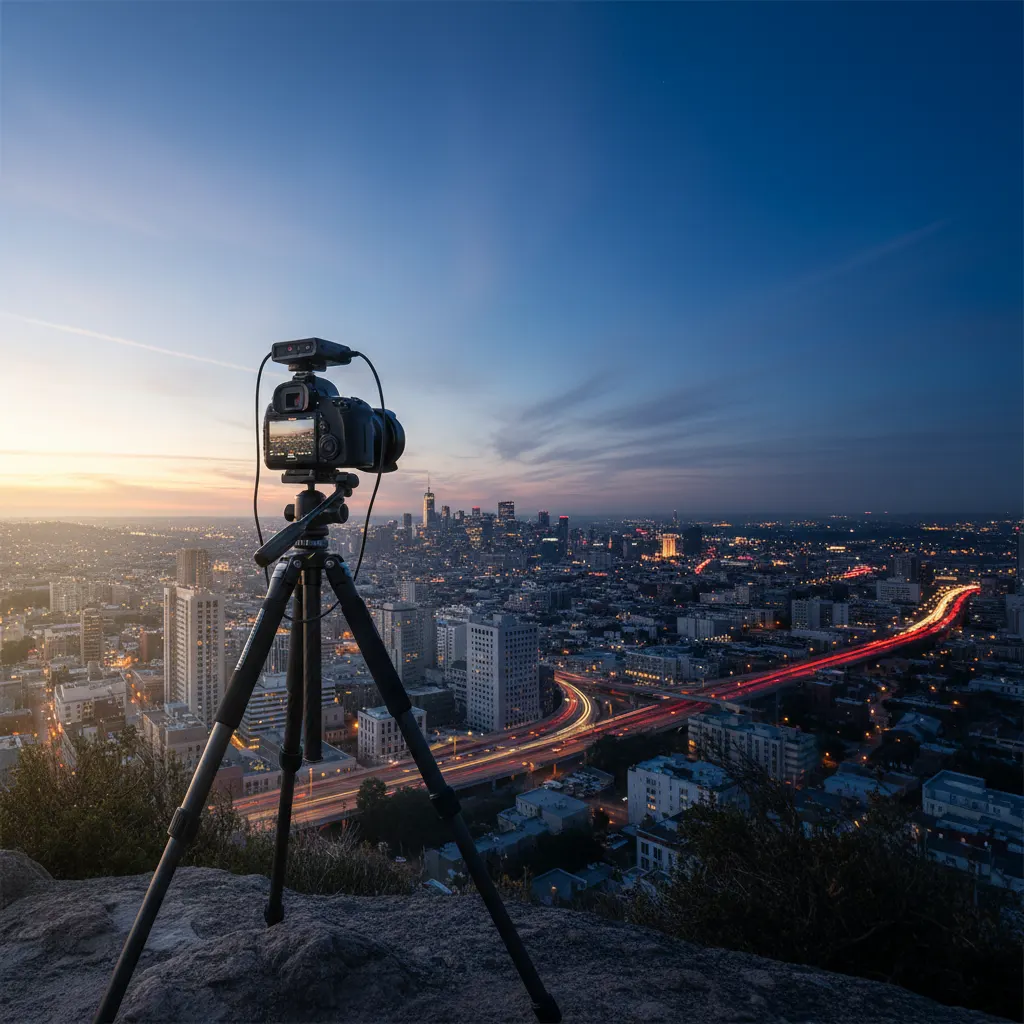
Time-Lapse Photography Tutorial: From Setup to Final Video
Learn how to create stunning time-lapse videos with the right intervalometer setup, camera settings, post-processing workflow, and gear.