How to Photograph Pets and Animals Like a Pro
Get sharp, expressive pet photos with tips on eye-level shooting, burst mode, lighting, action shots, and patience techniques.
Knowing how to photograph pets and animals well separates snapshots from frame-worthy portraits. Photographing pets and animals is one of the most rewarding and most challenging genres in photography. Your subjects do not take direction, they move unpredictably, and they have a talent for looking away at exactly the wrong moment. But when everything comes together, the results are images filled with personality, emotion, and life.
This guide covers the practical techniques that consistently produce great animal photographs, whether you are shooting your own pets at home or working with animals in any setting.
Get Down to Their Level
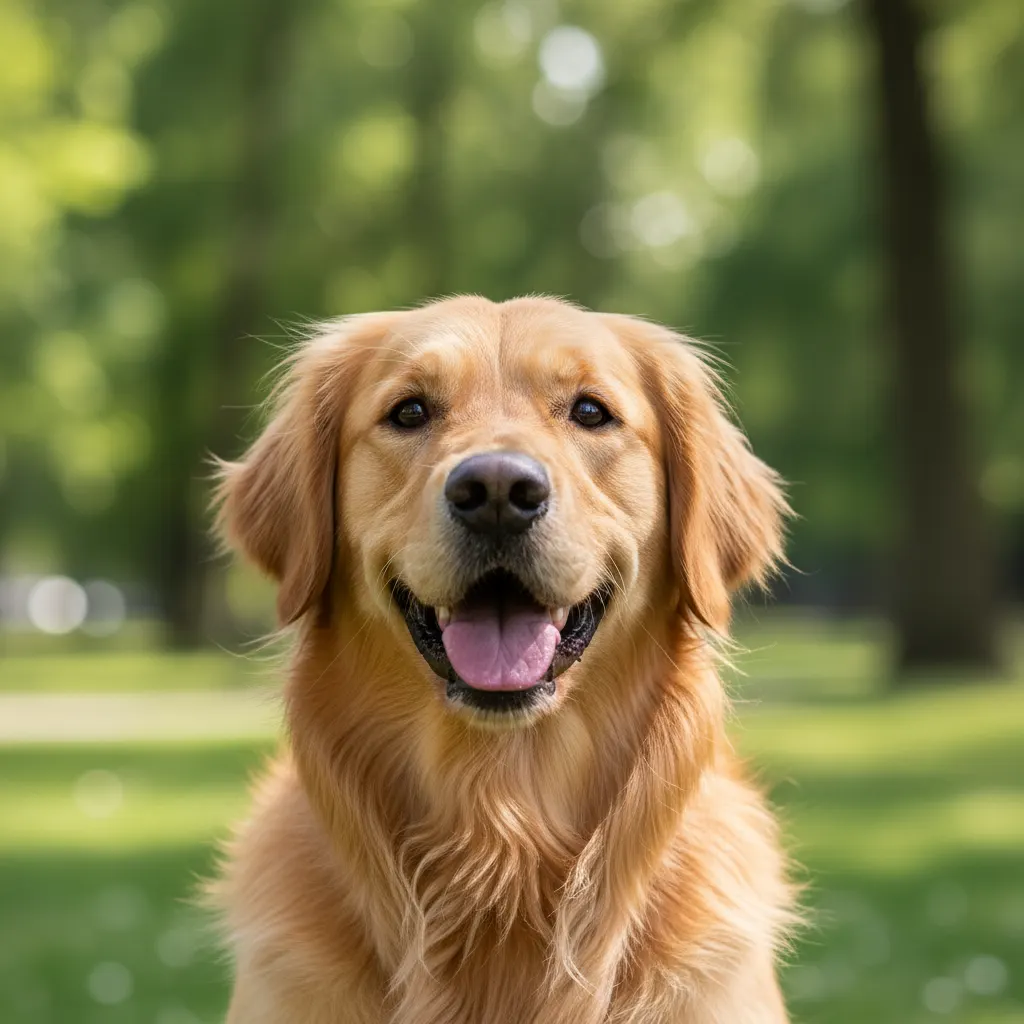
The single most impactful change you can make to your pet photography is shooting at the animal’s eye level. Most people photograph pets from standing height, looking down. This produces a foreshortened, unflattering perspective that makes the animal look small and disconnected.
When you get your camera to the same height as the animal’s eyes, several things happen:
- The background becomes cleaner because you are shooting parallel to the ground rather than into it.
- The animal appears more present and engaging because you are meeting it on its terms.
- The depth of field separates the subject from the background more effectively.
- The image feels intimate rather than documentary.
For small dogs and cats, this means lying on the ground. Use a flip-out LCD screen to compose while lying flat. For larger dogs, kneeling usually gets you to the right height.
Camera Settings for Pet Photography
Focus Settings
Autofocus is critical for pet photography. Animals move fast and unpredictably.
Use continuous autofocus (AF-C or AI Servo). This tracks the animal as it moves, keeping focus locked on the subject. Single AF (AF-S) locks focus once, and by the time you press the shutter, the animal has moved.
Enable animal eye AF if your camera has it. Sony, Canon, Nikon, and Fujifilm all offer dedicated animal eye detection in their recent models. This feature is transformative for pet photography. The camera locks onto the animal’s eye and tracks it through the frame, even as the animal moves, turns, or partially obscures its face.
If your camera lacks animal eye AF, use single-point AF or zone AF and keep the active point on the animal’s nearest eye.
Burst Mode
Switch to high-speed continuous shooting. Animals change expression in fractions of a second. A sequence of 10 frames often contains one perfect expression that you would have missed with single-shot mode.
Modern cameras can shoot 8 to 30 frames per second. For most pet photography, 8 to 10 fps is more than enough. Shoot in short bursts of 3 to 5 frames rather than holding the shutter down continuously, or your memory card will fill fast and your culling time will multiply.
Aperture
For portraits with a blurred background, shoot between f/2.0 and f/4.0. This isolates the animal from distracting backgrounds while keeping enough depth of field to get both eyes sharp. If you want to master the art of background blur, our guide on how to create beautiful bokeh covers the techniques in detail.
Be cautious with very wide apertures like f/1.4 on close-up shots. The depth of field becomes so thin that the nose may be sharp while the eyes are soft, or one eye is sharp while the other is blurred. For safety, f/2.8 is a reliable starting point for head-and-shoulders pet portraits.
For full-body action shots, stop down to f/5.6 to f/8 to ensure the entire animal is in the focus zone.
Shutter Speed
Fast shutter speeds are essential for animals in motion. Our guide on how to photograph moving subjects covers panning, burst strategies, and more for any fast-moving target.
- Resting or stationary pet: 1/250s minimum
- Walking or trotting: 1/500s
- Running or jumping: 1/1000s to 1/2000s
- Birds in flight: 1/2000s to 1/4000s. If you photograph animals in the wild, our guide to the best cameras for wildlife photography covers the long-reach bodies and lenses you need
Even for stationary pets, head turns and ear flicks happen quickly. A shutter speed below 1/250s risks motion blur from sudden movements.
ISO
Use whatever ISO gives you the shutter speed you need. A slightly noisy sharp image of your dog catching a ball is infinitely better than a clean, blurry one. For a deeper look at eliminating blur, read our guide on how to take sharp photos every time. Modern cameras handle ISO 1600 to 3200 with minimal quality loss.
Lighting for Pet Photography
Natural Light Outdoors
Open shade is the best outdoor lighting for pets. It provides soft, even illumination without harsh shadows or squinting. Shoot under a tree canopy, on the shaded side of a building, or on an overcast day.
Avoid direct midday sunlight, which creates harsh shadows under the nose and eye sockets and makes dark-furred animals look flat. If you often find yourself shooting indoors or in dim conditions, our guide on how to shoot in low light without flash offers practical techniques for keeping images clean.
Natural Light Indoors
Position the animal near a large window. Side light from a window creates dimension and catchlights in the eyes. Use a white reflector (even a white towel or sheet of paper) opposite the window to fill in shadows.
Catchlights
Catchlights are the bright reflections in the eyes that make them look alive and engaging. Without catchlights, eyes look flat and lifeless. Position the animal so that a light source (window, sky, reflector) is reflected in the eyes. Check your images and adjust the animal’s position or your angle if catchlights are absent.
Photographing Black and White Fur
Dark-furred animals are notoriously difficult. The camera’s meter overexposes them, turning black fur gray. Light-furred animals cause the opposite problem: underexposure that turns white fur dingy.
For black-furred pets: use exposure compensation of -1 to -1.5 stops or meter off a gray midtone and lock that exposure. Side or rim lighting helps define the shape of dark fur against dark backgrounds.
For white-furred pets: use exposure compensation of +1 to +1.5 stops and watch the histogram to avoid clipping the highlights.
Working with Uncooperative Subjects
Animals do not follow directions. Accept this and adapt your approach.
Use Treats Strategically
Hold a treat near the lens to get the animal to look at the camera. Make a sound (squeaker, whistle, crinkling wrapper) to get alert, ears-forward expressions. These attention-getters lose effectiveness quickly, so save them for the moments you are actually ready to shoot.
Have an assistant hold a treat just above and behind the lens. This positions the animal’s gaze slightly above center, creating a flattering upward look with visible catchlights.
Tire Them Out First
A dog that has just had a long walk or play session is calmer and easier to photograph than one bursting with energy. If you need portraits, exercise the animal first. If you want action shots, photograph them fresh and full of energy.
Work in Short Sessions
Animals lose patience faster than humans. Keep shooting sessions to 15 to 20 minutes for dogs and even shorter for cats. Multiple short sessions produce better results than one long, frustrating marathon.
Let Them Explore
When photographing in a new location, give the animal a few minutes to sniff around and settle in before you start shooting. A stressed or overly curious animal produces tense, unflattering expressions.
Recommended Camera Settings Table
Here is a quick-reference for specific pet and animal photography scenarios:
| Scenario | Aperture | Shutter Speed | ISO | Focus Mode | Notes |
|---|---|---|---|---|---|
| Pet portrait (outdoor shade) | f/2.8 | 1/500s | 200-400 | AF-C, animal eye AF | Focus on nearest eye |
| Dog running toward camera | f/5.6 | 1/1000s to 1/2000s | 400-800 | AF-C, tracking | Use burst mode, 10+ fps |
| Cat by window (indoor) | f/2.8 | 1/250s | 800-1600 | AF-S, single point | Position cat facing window for catchlights |
| Bird in flight | f/6.3 | 1/2000s to 1/4000s | 800-1600 | AF-C, wide area tracking | Use 200mm+ telephoto |
| Small pet (hamster, rabbit) | f/4 | 1/500s | 400-800 | AF-C, animal eye AF | Get extremely low, use macro-capable lens |
| Dog catching ball mid-air | f/5.6 | 1/2000s | 400-800 | AF-C, tracking | Pre-focus on expected catch zone |
| Horse in motion | f/5.6 | 1/1000s | 200-400 | AF-C, tracking | Pan for motion blur background |
You do not need top-tier gear to get started — many of the best cameras under $500 include animal eye detection. Cameras with advanced animal eye autofocus make a significant difference in hit rate. The Sony A7 IV and A7R V recognize dogs, cats, and birds, locking onto the eye and tracking it through the frame. Canon EOS R6 Mark II detects dogs, cats, horses, and birds. Nikon Z6 III and Z8 offer similar animal detection. If you are serious about pet photography, animal eye AF should be a priority feature when choosing your next camera body.
Action and Movement Shots
Pre-Focus Technique
For a dog running toward you, pre-focus on a spot the dog will cross. Use continuous AF to track the approach, and fire a burst as it hits the zone you pre-focused on.
Pan with the Subject
For animals running across the frame, use a slower shutter speed (1/60s to 1/125s) and pan your camera to follow the movement. This keeps the animal relatively sharp while the background streaks into motion blur, conveying speed and energy.
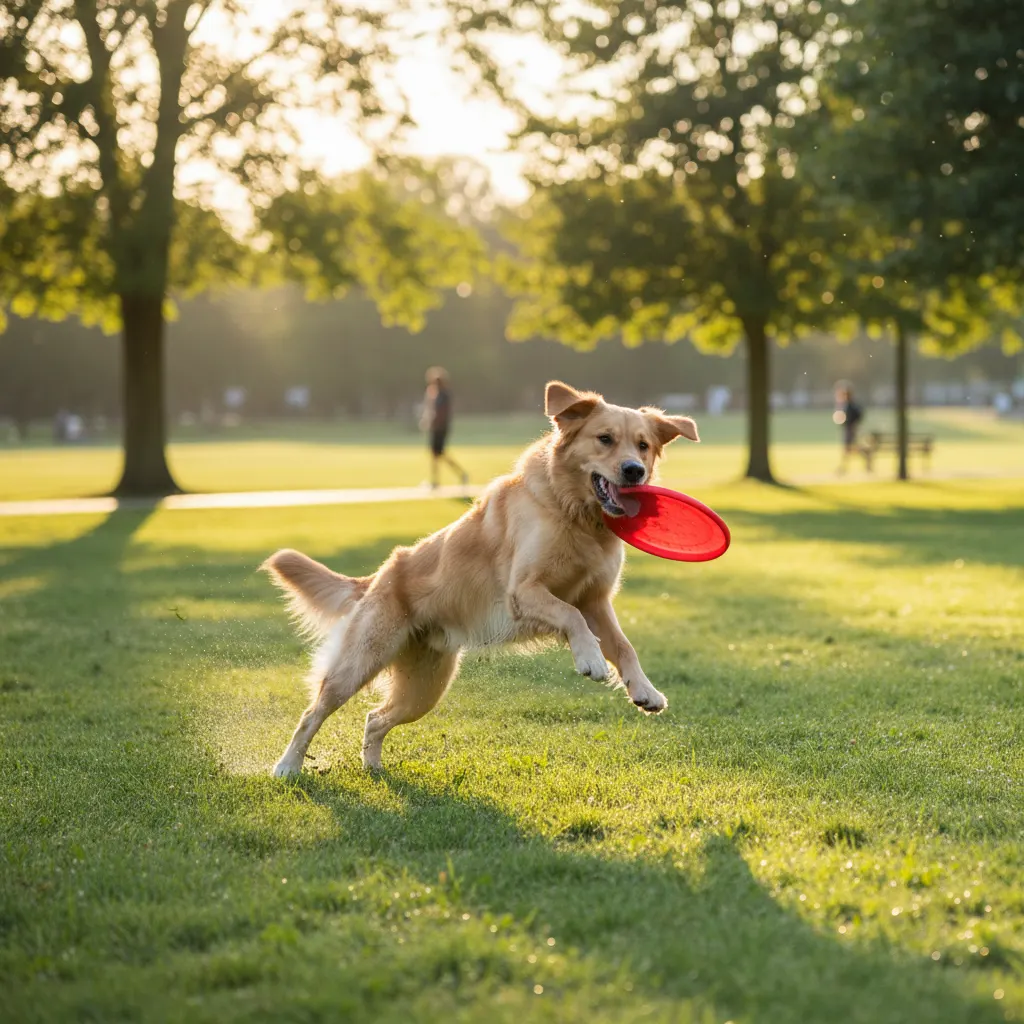
Capture the Peak of Action
The most compelling action shots capture the peak moment: the apex of a jump, the moment of catching a ball, the instant all four paws leave the ground. Anticipate these moments and fire slightly before they happen to account for shutter lag.
Composition Tips
Focus on the Eyes
Sharp eyes are non-negotiable in pet photography. If the eyes are soft, the image fails regardless of everything else. Always place your focus point on the nearest eye.
Capture Personality
Every animal has a unique personality. Some are dignified, some are goofy, some are intense. The best pet photos reveal character. A head tilt, a mid-yawn expression, or a determined sprint through a puddle tells the viewer who this animal is.
Include the Environment
While tight headshots are classic, wider shots that show the animal in its environment add context and story. A cat perched on a windowsill, a dog on its favorite trail, a horse in a misty field.
Watch the Background
A cluttered background ruins pet photos. Move the animal or change your angle to place a clean, simple background behind the subject. Shallow depth of field helps, but it cannot fix a telephone pole growing out of your dog’s head.
Common Mistakes to Avoid
Using flash directly at the animal. Direct on-camera flash startles most animals, creates harsh shadows, and produces unflattering green or yellow eye glow (similar to red-eye in humans but more pronounced in animals). If you need artificial light, use a bounced flash off the ceiling or a continuous LED panel set to low power. The Godox V1 with its round flash head produces softer direct light if bouncing is not possible.
Cutting off paws, ears, or tails. In the excitement of getting the right expression, it is easy to crop too tightly and cut off extremities. Leave more room around the animal than you think you need — you can always crop tighter in post, but you cannot add back a missing ear tip or paw.
Shooting on a busy background. A colorful play structure, cluttered garden, or living room full of furniture behind your pet competes for attention. Move the animal to a location with a simple, uncluttered background, or open up to f/2.8 to blur the background into a smooth wash of color. Even simply changing your angle can eliminate background distractions.
Giving up too quickly. The best pet photos often come in the last five minutes of a session, when the animal has relaxed and stopped performing for the camera. Be patient, keep shooting, and recognize that a 20-minute session producing 200 frames might yield only 3 to 5 truly excellent images. That ratio is normal in animal photography.
Ignoring the background color relative to the animal’s fur. A black dog against a dark green hedge disappears. A white cat on a white couch loses definition. Choose backgrounds that contrast with the animal’s coloring. Dark-furred pets look best against medium-toned or light backgrounds, while light-furred pets stand out against darker, richer backgrounds.
Post-Processing Pet Photos
- Brighten the eyes selectively. A slight exposure and clarity boost on the eyes makes them pop.
- Sharpen moderately, focusing on the eyes and face.
- Remove distractions: leashes, people’s feet, or stray objects in the background using the clone or healing tool.
- Warm the tones slightly for a friendly, inviting feel.
- Boost fur texture with careful clarity or texture slider adjustments.
Pet photography is ultimately about connection. The technical skills get you sharp, well-lit images. But the photos that people frame and treasure are the ones that capture the spirit of the animal. Be patient, stay ready, and keep shooting.
Frequently Asked Questions
What is the best camera setting for pet photography? For pet portraits in natural light, start with aperture priority mode at f/2.8, ISO 400, and let the camera choose a shutter speed (ensure it stays above 1/500 second). Use continuous autofocus (AF-C) with animal eye detection enabled. For action shots of dogs running or jumping, switch to shutter priority at 1/1000 to 1/2000 second, or use manual mode with f/5.6, 1/1500 second, and ISO 800. The exact settings depend on your lighting conditions, but the priority is always a fast enough shutter speed to freeze the animal’s movement while maintaining sharp focus on the eyes.
What lens is best for pet photography? A 70-200mm f/2.8 lens is the most versatile choice for pet photography because it provides comfortable working distance, beautiful background blur, and fast autofocus. For shorter focal lengths, many of the best camera lenses for portraits double as excellent pet photography glass. For indoor work and tight spaces, a 50mm f/1.8 or 85mm f/1.8 prime lens offers excellent image quality at a lower price point. The Sony FE 85mm f/1.8, Canon RF 85mm f/2 Macro IS STM, and Nikon Z 85mm f/1.8 S are all excellent and affordable options. For small pets like hamsters or reptiles, a macro lens like the Sigma 105mm f/2.8 DG DN Macro Art lets you capture fine detail in fur, feathers, and scales.
How do I get my pet to look at the camera? Hold a treat or favorite toy just above and slightly behind the lens so the animal looks directly into the camera with an engaged, alert expression. Squeaker toys, crinkling treat bags, and unusual sounds (like a whistle or clicking tongue) work well to get ears-forward, attentive expressions. These tricks lose effectiveness after a few repetitions, so save them for the moments you are ready to shoot. Have an assistant hold the attention-getter while you focus on framing and timing. For cats, a feather toy dangled above the lens often produces intense, focused expressions with dilated pupils that photograph beautifully.
You might also like
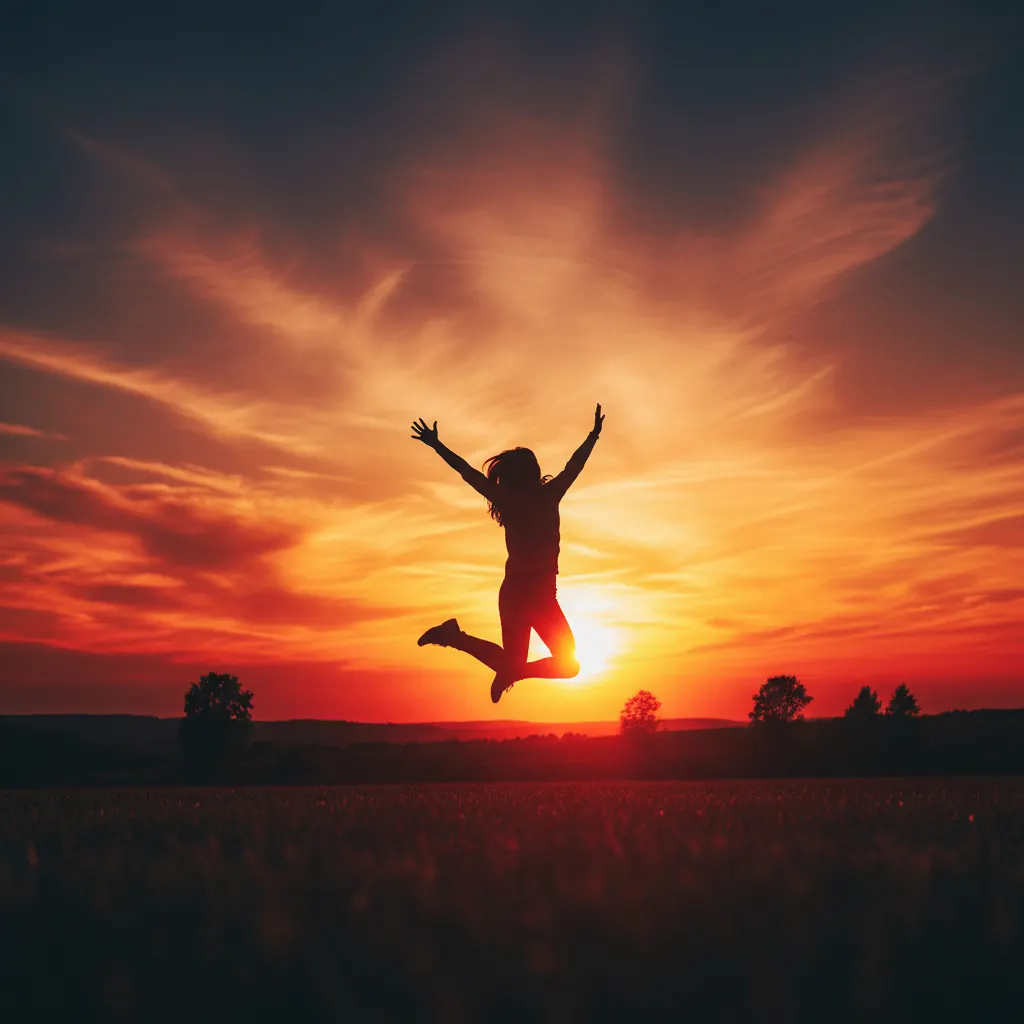
How to Shoot Silhouettes: A Step-by-Step Guide
Master silhouette photography with backlighting techniques, exposure metering tips, subject selection, and creative composition ideas.
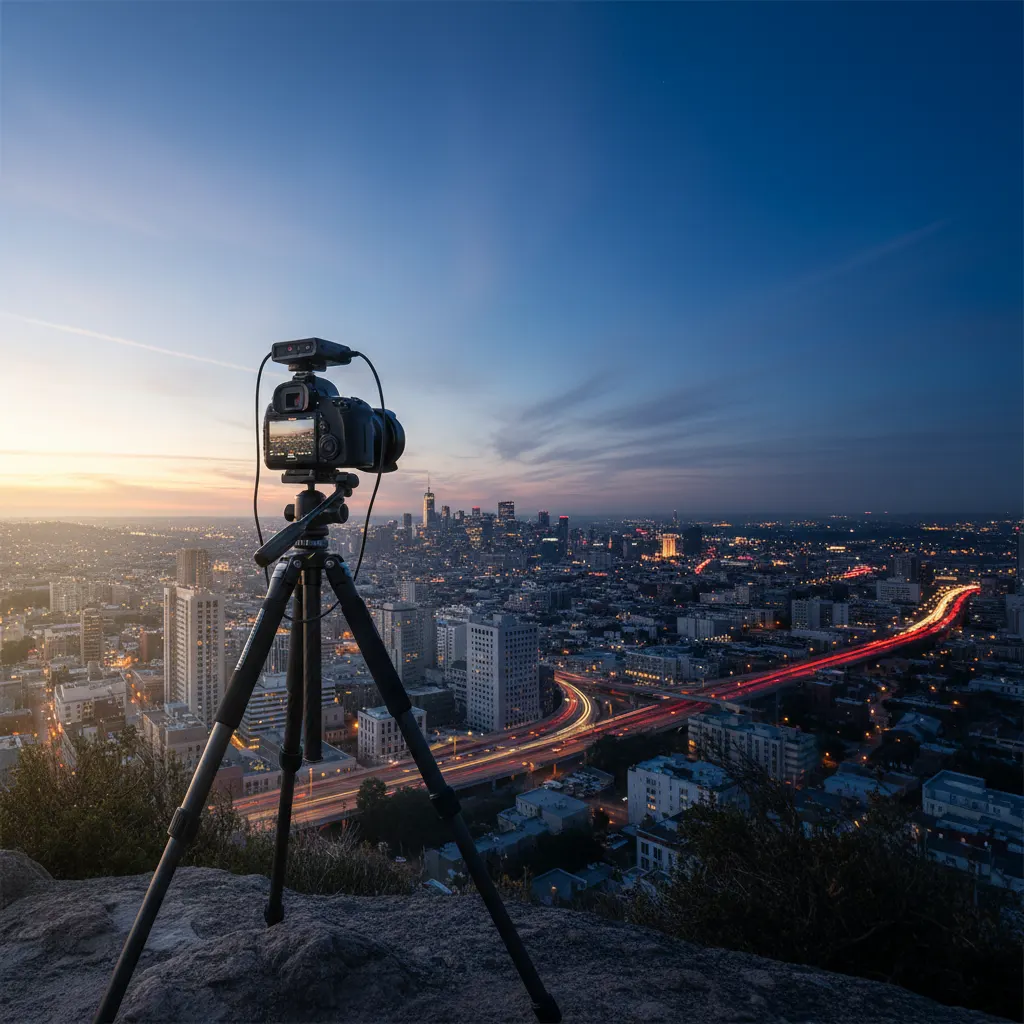
Time-Lapse Photography Tutorial: From Setup to Final Video
Learn how to create stunning time-lapse videos with the right intervalometer setup, camera settings, post-processing workflow, and gear.

How to Photograph Reflections Creatively
Discover techniques for capturing stunning reflections in water, glass, and puddles, plus how polarizing filters give you creative control.