How to Photograph Newborns at Home: Settings, Safety & Tips
Learn how to photograph newborns at home safely with the right natural light, camera settings, lens choices, posing basics and gentle editing tips.

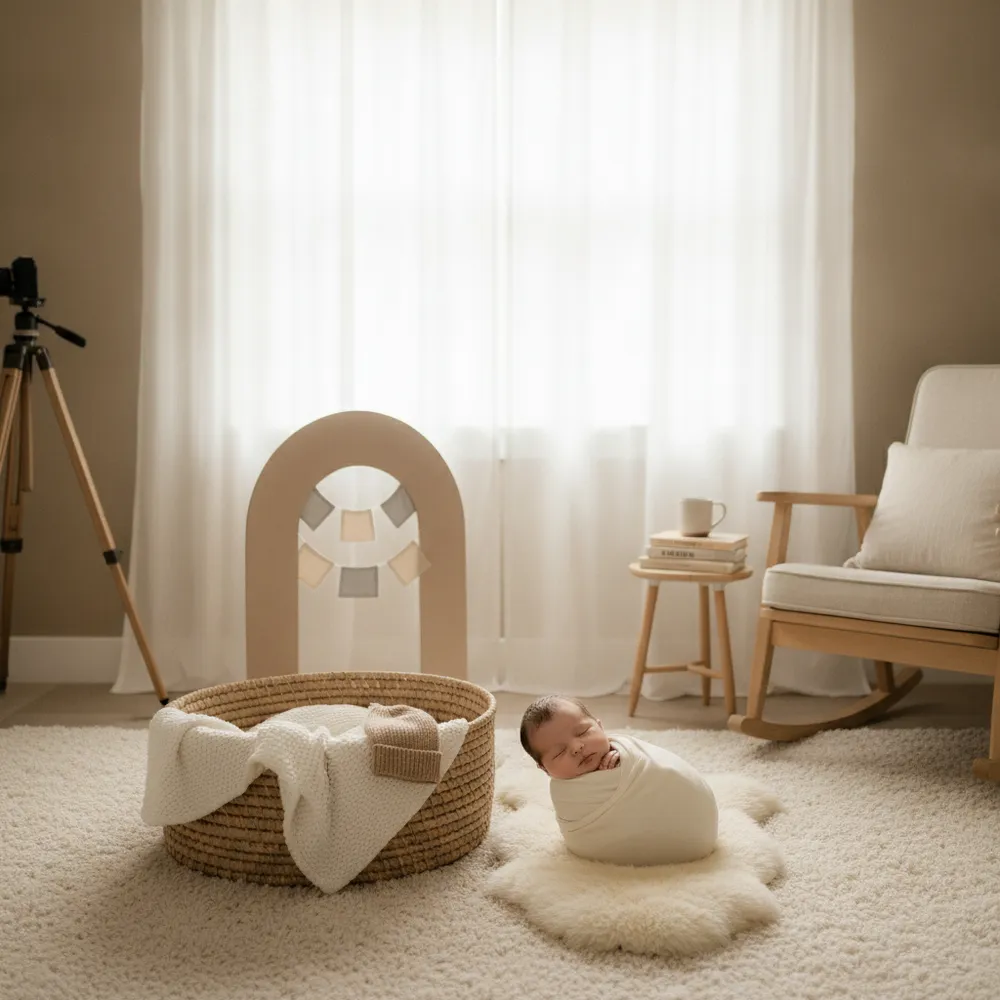
Learning how to photograph newborns at home lets you capture those fleeting first days in a calm, familiar environment without the cost of a studio. With a single window, a basic camera, and a few safety-first habits, you can create soft, timeless portraits of your baby. This guide walks through safety, lighting, camera settings, lenses, posing, timing, and editing so you can photograph newborns at home with confidence.
Quick Answer
To photograph newborns at home, place the baby near a large window for soft, directional light, warm the room to roughly 78-80°F, and shoot at a wide aperture (f/2.8-f/4) with a 35-50mm lens. Keep a hand on the baby at all times, support the head, and never leave the baby unattended.
Safety First: The Non-Negotiable Rules
Before any setting or pose, safety comes first. A newborn’s head is heavier than their body and they cannot support it, so the head and neck must be supported at all times, with slow, deliberate movements. Never leave the baby unattended on any raised surface, bed, beanbag, or posing area, not even for a split second.
According to professional newborn educators, the popular “gravity-defying” poses you see online are almost always composites, meaning two separate frames are taken while a hand supports the baby, then merged in editing. As a parent at home, do not attempt those poses. Keep things simple and grounded.
A few more responsible habits:
- Warm the room to roughly 78-80°F (around 26°C). Babies lose heat quickly, and a warm room helps them stay calm and sleepy.
- Wash your hands and keep props clean. Skip anything that could fall or roll.
- Watch breathing and skin color throughout. If the baby seems uncomfortable, stop and comfort them.
- Have a second person nearby. One person handles the camera while another keeps a hand on the baby.
Photography should never compromise the baby’s well-being. If a shot feels risky, it is not worth it.
Setting Up Natural Light Near a Window
Soft, directional window light is the secret to beautiful newborn images and it is completely free. Position the baby a few feet from a large window, ideally one that does not get harsh, direct sun. North-facing windows give the most even, diffused light throughout the day.
Lay the baby so the light falls across the face from the top of the head toward the chin, not from below. This “loop” or “short” lighting direction creates gentle shadows that add depth. If the light is too harsh, hang a sheer white curtain to diffuse it, or move the baby slightly farther from the glass.
Place a white foam board, a piece of poster paper, or even a white blanket on the shadow side of the baby to bounce light back and soften shadows. Avoid mixing window light with warm indoor bulbs, as the color temperatures clash and make skin tones hard to correct. Turn off overhead lights and rely on the window. If you struggle with dim interiors, our guide on shooting in low light without flash explains how to keep images clean when window light is limited.
Recommended Camera Settings
The goal is soft backgrounds, accurate skin tones, and sharp eyes. Shoot in Aperture Priority or Manual mode and set a wide aperture to blur distractions while keeping the baby in focus. If you are still building confidence with these controls, review the fundamentals in understanding aperture, shutter speed, and ISO.
- Aperture: f/2.8 to f/4. Wide enough for a soft background, but not so wide that only one eyelash is in focus. For close-up detail shots of hands and feet, f/4 to f/5.6 keeps more of the subject sharp.
- Shutter speed: at least 1/200s when handholding to freeze tiny movements like a stretch or yawn. Newborns are not as still as people expect.
- ISO: keep it as low as the light allows, typically 200-800 indoors. Raise it before you let the shutter speed drop too low.
- White balance: set a custom or daylight white balance, or shoot RAW so you can correct skin tones precisely later.
- Focus: single-point autofocus locked on the nearest eye.
Sharp focus on the eyes is what separates a keeper from a near-miss. If you frequently get slightly soft results, our tips on taking sharp photos every time cover focus technique and stability.
Shot Types, Settings & Lens Guide
Different shots call for different combinations. Use this table as a quick reference.
| Shot Type | Recommended Settings | Lens |
|---|---|---|
| Full-body sleeping pose | f/3.5, 1/200s, ISO 400 | 35mm or 50mm |
| Face and shoulders portrait | f/2.8, 1/250s, ISO 320 | 50mm |
| Detail shots (hands, feet, eyelashes) | f/4-5.6, 1/200s, ISO 500 | 60-105mm macro |
| Parent-and-baby lifestyle | f/2.8, 1/250s, ISO 400 | 35mm |
| Wrapped/swaddled close-up | f/3.2, 1/200s, ISO 400 | 50mm |
A 35mm lens captures context and lifestyle scenes, while a 50mm gives flattering, slightly compressed portraits. A dedicated macro lens shines for tiny details. For a deeper comparison of portrait glass, see our roundup of the best camera lenses for portraits. Sony shooters on a budget can also check our picks for budget lenses for the Sony A7.
Posing Basics (Keep It Simple and Safe)
At home, the safest and most natural poses are the ones a sleeping baby would fall into on their own. Lay the baby on a firm, padded surface like a bed or a beanbag covered with a soft, neutral blanket, always with a spotter’s hand ready.
- The back pose: baby on their back, arms relaxed. Easy, safe, and timeless.
- The side pose: baby gently curled on one side with knees tucked, supported so they cannot roll.
- Swaddled pose: wrap the baby snugly to keep them calm; this hides flailing limbs and creates clean lines.
- Parent’s arms: the most natural “prop” of all. Photograph the baby resting on a parent’s chest or in cupped hands.
Shoot from slightly above and parallel to the baby’s body to flatter their proportions. Avoid shooting up the nostrils. Capture both wide frames and tight details in the same setup so you have variety from one safe position.
Timing: Photograph When the Baby Sleeps
Newborns are most cooperative in the first two weeks, when they sleep deeply and curl naturally. Plan your session for right after a feeding, when the baby is full, warm, and drowsy. A fed baby is a calm baby.
Allow plenty of time and do not rush. A relaxed session might take one to two hours with breaks for feeding, soothing, and diaper changes. Keep the room quiet, play soft white noise, and move slowly. Patience produces far better results than forcing a tired or hungry baby into a pose.
Editing Tips for Soft, Natural Results
Newborn editing should be gentle. The aim is clean skin tones and soft light, not a heavily processed look. Start in your editor by correcting white balance so skin looks natural, neither too orange nor too blue.
- Even out skin tones and gently reduce redness or blotchiness, which is normal in newborns, without erasing texture.
- Lift shadows slightly to keep the mood soft and airy.
- Avoid over-sharpening delicate skin; apply sharpening selectively to the eyes and hair.
- Keep colors muted with neutral or warm, low-saturation tones for a timeless feel.
If you are new to post-processing, our photo editing basics in Lightroom walks through these adjustments step by step. Subtle edits age far better than trendy heavy filters.
Frequently Asked Questions
What camera settings are best to photograph newborns at home?
Use a wide aperture between f/2.8 and f/4 for a soft background, a shutter speed of at least 1/200s to freeze small movements, and the lowest ISO your window light allows, usually 200-800. Lock single-point focus on the nearest eye and shoot in RAW for flexible skin-tone correction.
What lens is best for newborn photography?
A 50mm lens is the most versatile choice, giving flattering, natural-looking portraits. A 35mm lens works well for lifestyle and parent-and-baby scenes that include the room, while a 60-105mm macro lens is ideal for tiny details like fingers, toes, and eyelashes captured up close.
When is the best time to photograph a newborn?
The first two weeks are ideal, as babies sleep deeply and curl naturally during this window. Schedule the session right after a feeding when the baby is full, warm, and drowsy. Allow one to two hours so you can pause for feeding, soothing, and diaper changes without rushing.
Is it safe to pose a newborn at home?
Stick to simple, grounded poses such as the baby lying on their back or gently curled on their side, always with a hand supporting and spotting them. Never leave the baby unattended, support the head at all times, and avoid the gravity-defying poses seen online, which professionals create using composite editing.
Do I need flash to photograph newborns indoors?
No. Soft, diffused natural light from a window produces the most flattering results and avoids startling the baby. Position the baby a few feet from a large, indirect window and use a white reflector to fill shadows. Raise your ISO before resorting to artificial light.
Final Thoughts
You do not need a studio to photograph newborns at home beautifully. With safety as your foundation, soft window light, a wide aperture, the right lens, and patient timing around sleep, you can capture portraits that last a lifetime. Keep a hand on the baby, keep the room warm, keep poses simple, and let the natural moments unfold. For related techniques, explore our guides on low-light shooting and even how those same lighting principles apply to the best cameras for real estate photography.
You might also like
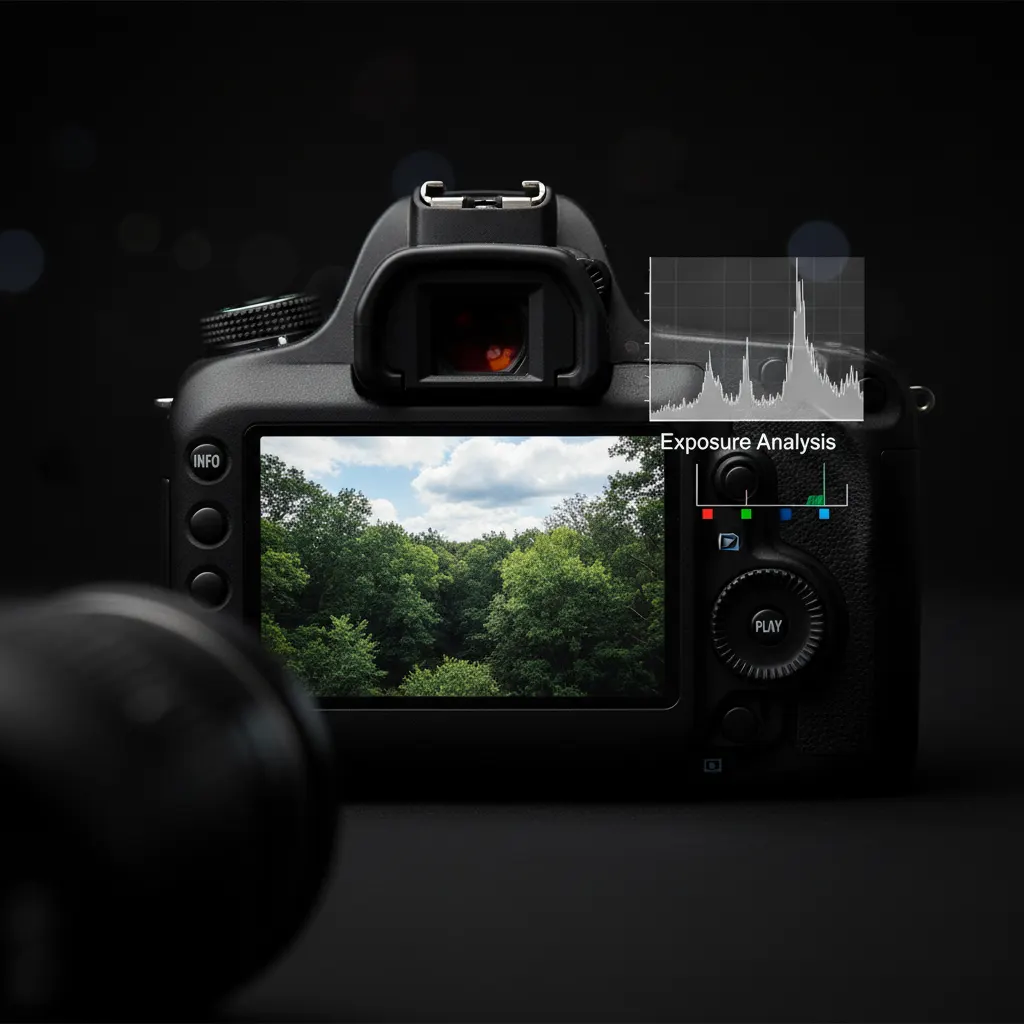
How to Use the Histogram in Photography
Master histogram reading to nail exposure every time. Learn about clipping warnings, expose to the right, and practical histogram use in the field.

Understanding White Balance: A Complete Guide
Learn how white balance affects your photos, when to use presets vs custom settings, and how to master the Kelvin scale for accurate colors.

How to Use Manual Mode on Your Camera
Understand manual mode with clear explanations of aperture, shutter speed, and ISO, plus practice exercises to build confidence.