How to Photograph Moving Subjects
Learn to freeze action and capture motion blur with practical shutter speed guides for sports, wildlife, kids, and street photography.
Photographing subjects in motion is one of the most exciting challenges in photography. Whether you want to freeze a sprinter in mid-stride or create an artistic blur of a passing train, it comes down to understanding shutter speed and a handful of techniques. This guide covers both freezing and blurring motion across common shooting situations.
The Fundamentals: Shutter Speed and Motion
Shutter speed is the primary tool for controlling how motion appears in your images. If you need a refresher on how shutter speed interacts with aperture and ISO, check out our guide on understanding aperture, shutter speed, and ISO.
- Fast shutter speeds (1/500s and above) freeze motion. The subject appears sharp and still, even mid-action.
- Slow shutter speeds (1/30s and below) blur motion. Moving subjects become streaks while stationary elements stay sharp.
- Mid-range speeds (1/60s to 1/250s) produce partial blur — sometimes intentional, often not.
The “right” shutter speed depends on how fast the subject is moving, how far away it is, and the direction of movement relative to the camera.
Shutter Speed Reference Guide
Here are practical starting points for common subjects:
| Subject | Freeze Motion | Slight Blur |
|---|---|---|
| Walking person | 1/250s | 1/30s |
| Running person | 1/500s to 1/1000s | 1/60s |
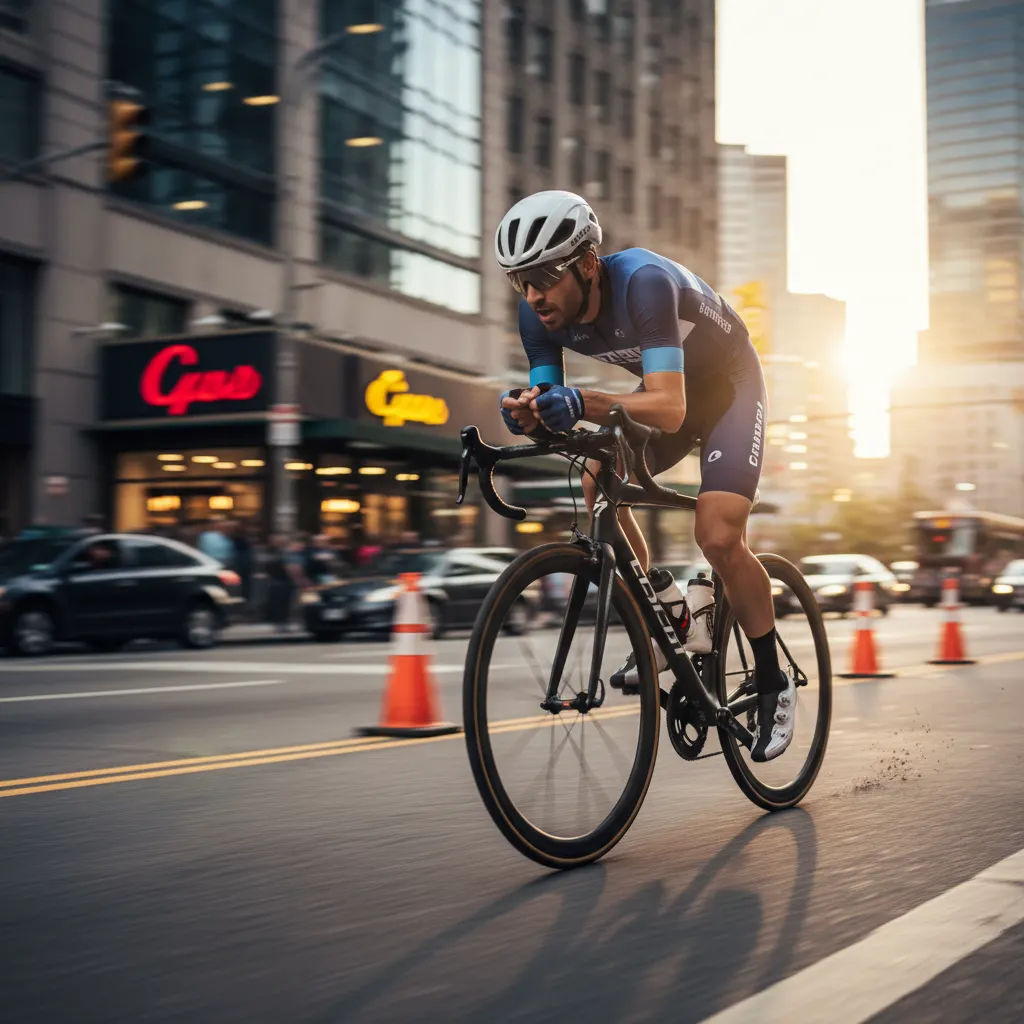
| Cycling | 1/1000s | 1/125s |
| Cars on a street | 1/1000s to 1/2000s | 1/60s |
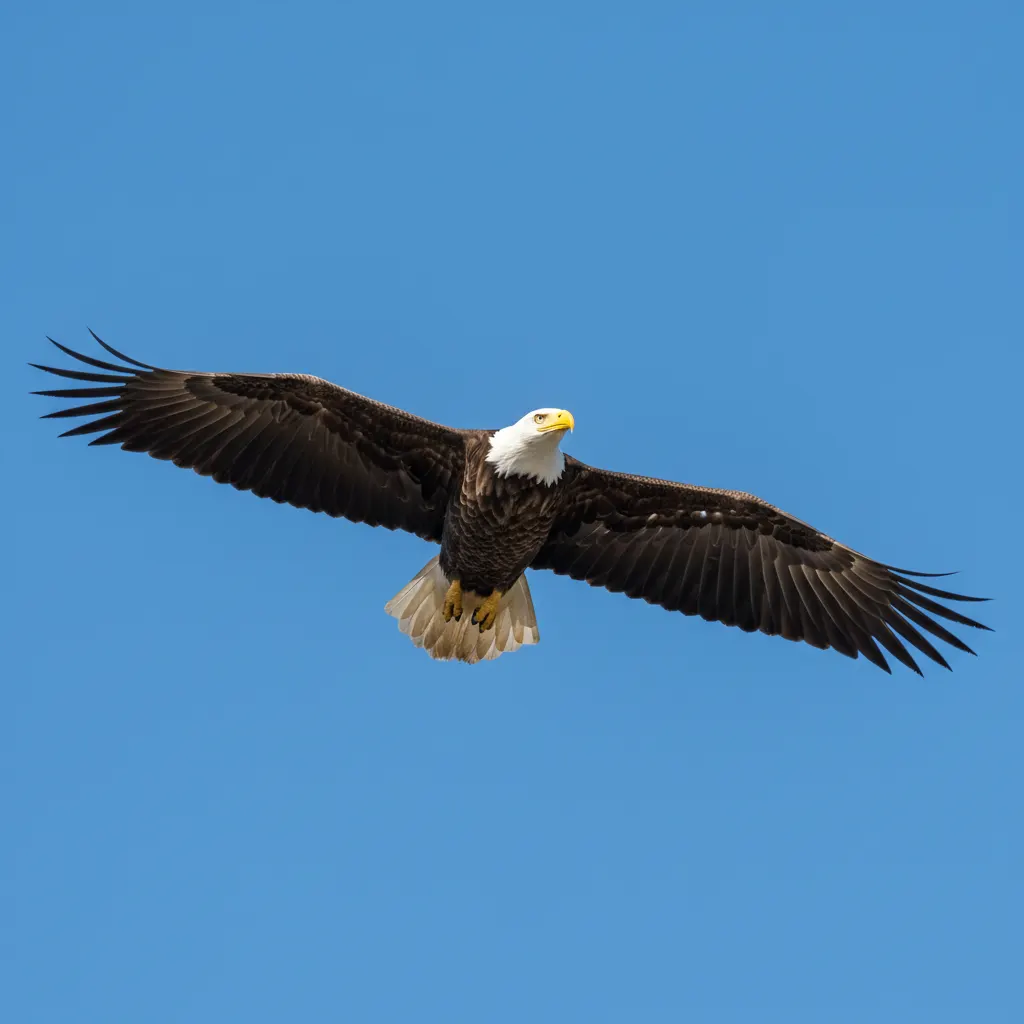
| Birds in flight | 1/2000s to 1/4000s | 1/250s |
| Water splashes | 1/2000s or faster | 1/250s |
| Kids playing | 1/500s to 1/1000s | 1/60s |
| Sports (football, basketball) | 1/1000s to 1/2000s | 1/125s |
These are starting points. Subject distance, direction of travel, and your focal length all influence the result. Test and adjust.
Technique 1: Freezing Motion
The straightforward approach. Use a fast shutter speed to capture a sharp subject mid-action.
Camera Settings
- Mode: Shutter Priority (S/Tv) or Manual mode.
- Shutter speed: Start at 1/1000s for most action. Increase to 1/2000s or 1/4000s for very fast subjects.
- Aperture: In Shutter Priority, the camera sets this automatically. In Manual, open wide (f/2.8 to f/4) to let in enough light.
- ISO: Auto ISO works well here. Set a maximum auto ISO limit (e.g., ISO 6400) to prevent excessive noise. Alternatively, set ISO manually based on your light conditions.
- Focus mode: Continuous autofocus (AF-C on Nikon/Sony, AI Servo on Canon). This tracks moving subjects and continuously updates focus.
- Drive mode: Continuous/burst shooting. Hold the shutter button to fire multiple frames per second. More frames mean a better chance of nailing the decisive moment.
Focus Area
Use a zone or group area focus mode rather than a single point. This gives the autofocus system a wider area to track the subject. For subjects moving predictably (runners on a track, cars on a road), a single point or small group works. For erratic movement (kids, animals), use a wider zone or the camera’s subject tracking mode.
Anticipate the Action
Do not wait for peak action to press the shutter — you will always be too late. Start shooting just before the decisive moment. A basketball player going up for a dunk? Start your burst as they leave the ground, not when they reach the rim.
Technique 2: Panning
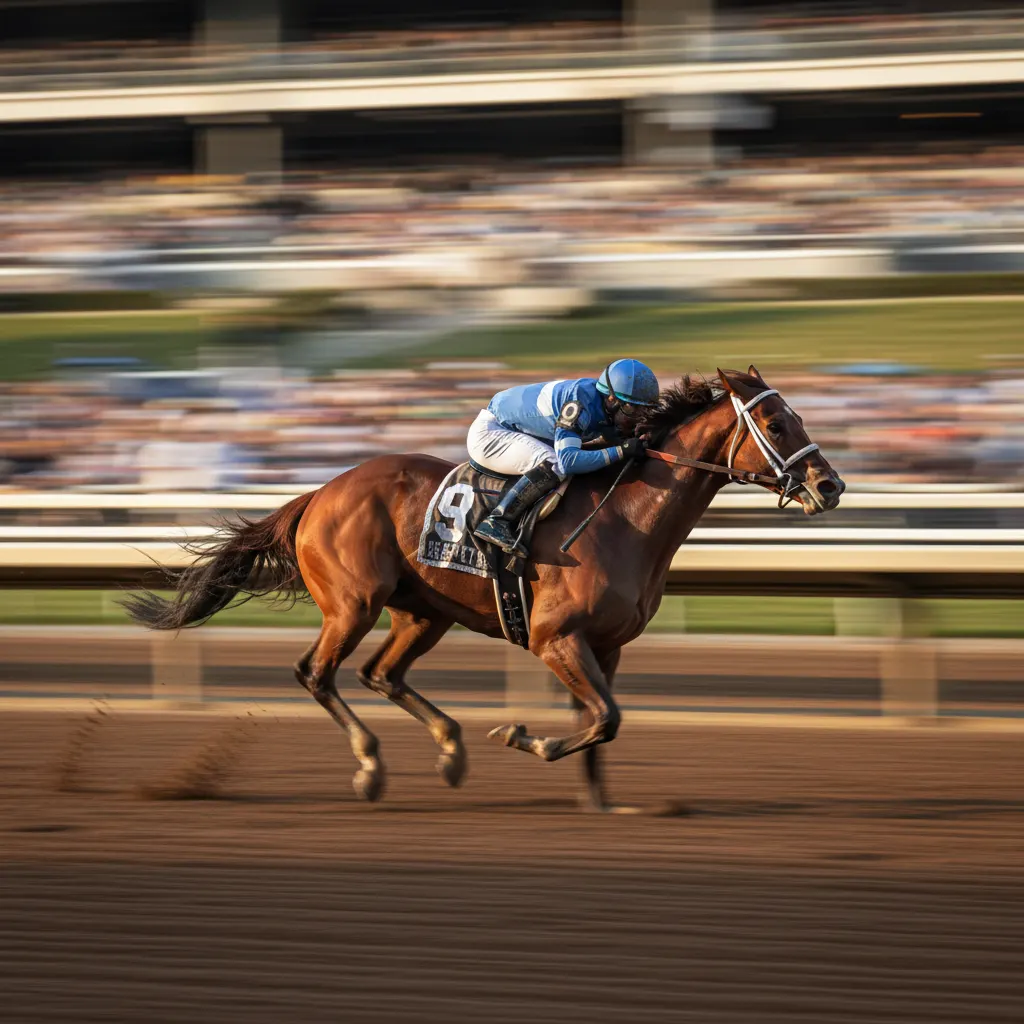
Panning is a technique where you follow a moving subject with your camera during a slow shutter speed exposure. The result: a sharp subject against a motion-blurred background. This conveys a powerful sense of speed and movement.
How to Pan
- Set shutter speed to 1/30s to 1/125s depending on subject speed. Slower speeds create more blur but are harder to execute.
- Stand with your feet shoulder-width apart and rotate from the waist, not the arms.
- Start tracking the subject before it reaches your shooting position. Move smoothly with it.
- Press the shutter while continuing to move. Do not stop when you press the button — follow through like a golf swing.
- Keep tracking the subject after the shutter closes.
Panning Settings
- Mode: Shutter Priority at 1/30s to 1/60s for cars, 1/60s to 1/125s for cyclists or runners.
- Focus: Continuous AF with a central focus point.
- Stabilization: If your lens or camera has a stabilization mode specifically for panning (Mode 2 on Canon lenses, for example), enable it. This stabilizes vertical movement while allowing horizontal motion. If no panning mode exists, turn stabilization off.
- Drive mode: Continuous burst. Take 10 to 20 frames per panning attempt and keep the sharpest one.
Tips for Better Pans
- Slower subjects are easier to pan with. Start practicing with joggers or cyclists before attempting cars.
- Use a monopod for smoother horizontal movement.
- Aim for the subject to be parallel to you (moving left to right or right to left) rather than approaching or receding. Parallel movement produces the cleanest blur lines.
- Accept a low success rate. Even professionals discard most panning shots. Shoot plenty of frames.
Technique 3: Intentional Motion Blur
Sometimes you want the blur itself to be the subject. Long exposure motion blur turns moving elements into abstract streaks while keeping the static world sharp.
Examples
- Traffic light trails at night (10 to 30 seconds on a tripod).
- Flowing water in a river or waterfall (1/4s to 5 seconds) — see our full long exposure photography guide for detailed techniques.
- Crowd movement in a busy plaza (2 to 10 seconds).
- Ferris wheel lights at a carnival (5 to 15 seconds).
Settings
Use a tripod. Set a low ISO (100), a narrow aperture (f/11 to f/16), and choose a shutter speed based on how much blur you want. In bright conditions, you may need an ND filter to achieve slow shutter speeds without overexposing.
Photographing Sports
Sports photography combines fast action with unpredictable movement. If you are considering a dedicated action camera for extreme sports, see our roundup of the best action cameras for 2026.
Positioning
Where you stand matters as much as your settings. Position yourself where the action happens — the goal line, the finish line, the corner of a basketball court. Anticipate where players will be, not where they are.
Lens Choice
A 70-200mm f/2.8 is the workhorse sports lens. For larger fields (football, cricket, motorsport), a 100-400mm or 200-600mm zoom gives you reach. The wide aperture (f/2.8) helps in indoor arenas and evening events where light is limited.
Settings for Indoor Sports
Indoor arenas have poor lighting — the same challenges covered in our guide on how to shoot in low light without flash. You will need:
- Aperture: f/2.8 (wide open)
- Shutter speed: 1/500s to 1/1000s
- ISO: 3200 to 6400 (or higher on modern cameras)
Shoot RAW so you can correct white balance later — arena lighting is often mixed and ugly.
Photographing Kids and Pets
Kids and pets are unpredictable, fast, and rarely cooperative. They are excellent practice for action photography.
Tips
- Get down to their level. Shooting from above feels detached. Get on your knees or stomach for eye-level contact.
- Use continuous AF with tracking. Modern face and eye detection AF systems are remarkably good at following children and animals.
- Shutter speed: 1/500s minimum. Kids change direction instantly. Even 1/250s often produces motion blur on hands and feet.
- Pre-focus on a spot where the action will happen (the bottom of a slide, a doorway) and wait for the subject to arrive.
- Shoot in burst mode constantly. The perfect expression lasts a fraction of a second. A 10-frame burst gives you far better odds.
Common Mistakes
Not Using a Fast Enough Shutter Speed
This is the number one error. When in doubt, go faster. A slightly noisy image from high ISO looks better than a blurry one from a slow shutter speed. Noise can be reduced in post-processing. Blur cannot be fixed. For more sharpness strategies, read our guide on how to take sharp photos every time.
Single-Shot Focus Mode
Using single-shot AF (AF-S) for moving subjects means the camera locks focus once and does not update. By the time the shutter fires, the subject has moved and the focus is wrong. Always use continuous AF for anything that moves.
Shooting Too Late
The decisive moment passes in milliseconds. Start shooting before the peak action and use burst mode. Reaction time alone is too slow for most fast-moving subjects.
Ignoring the Background
A great action shot loses impact if the background is cluttered. Use a wide aperture to blur distractions, or choose a shooting position where the background is clean — a dark wall, an empty sky, or a distant crowd that turns into smooth bokeh.
Practice Plan
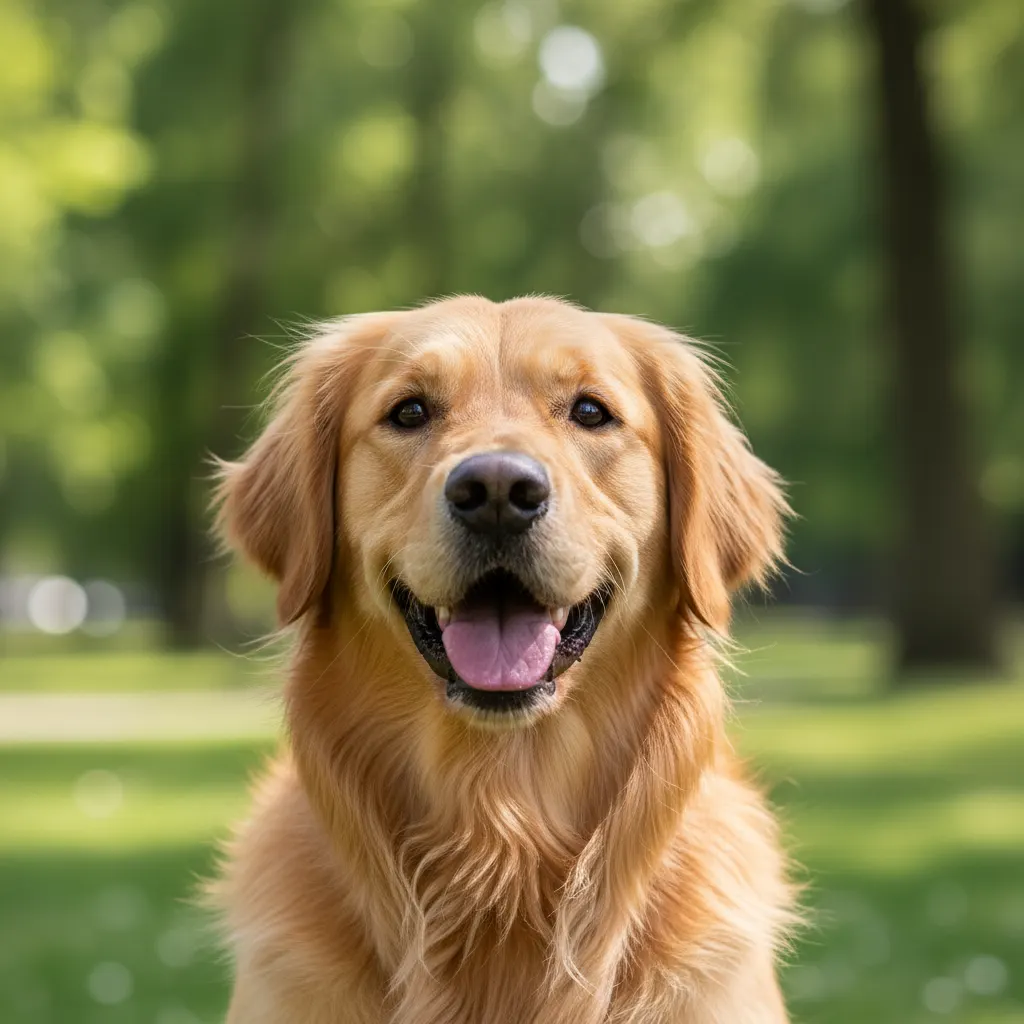
Spend an afternoon at a park or playground. Start with joggers (predictable, moderate speed). Try freezing them at 1/1000s, then pan at 1/60s. Move to dogs — faster and more erratic. Finally, try birds taking off from a pond. Each subject escalates the challenge. By the end of the session, your reaction time and technique will have improved significantly.
Recommended Camera Settings Table
This table gives you complete exposure combinations for common action scenarios. Use these as tested starting points and adjust based on your light and creative intent.
| Scenario | Mode | Aperture | Shutter Speed | ISO | AF Mode | Drive Mode |
|---|---|---|---|---|---|---|
| Kids playing outdoors, sunny | S (Tv) | Auto (f/4–f/5.6) | 1/1000s | Auto, max 1600 | AF-C / AI Servo | Continuous burst |
| Dog running in park | S (Tv) | Auto (f/4–f/5.6) | 1/1250s | Auto, max 3200 | AF-C with tracking | Continuous high burst |
| Outdoor football/soccer | Manual | f/4 | 1/1500s | 400–800 | AF-C, zone area | Continuous high burst |
| Indoor basketball | Manual | f/2.8 | 1/800s | 3200–6400 | AF-C, wide zone | Continuous high burst |
| Birds in flight, daylight | S (Tv) | Auto (f/5.6–f/8) | 1/2500s | Auto, max 3200 | AF-C with bird tracking | Continuous high burst |
| Panning a cyclist | S (Tv) | Auto | 1/60s | Auto, max 800 | AF-C, center point | Continuous burst |
| Waterfall long exposure | Manual | f/11 | 1/4s–2s | 100 | Single AF | Single shot, tripod |
| Traffic light trails at night | Manual | f/11 | 10–30s | 100 | Manual focus | Single shot, tripod + remote |
For cameras with dedicated subject tracking like the Sony A7R V (bird/animal/vehicle AF), Nikon Z8 (3D tracking), or Canon EOS R5 Mark II (intelligent subject detection), enable the relevant tracking mode for moving subjects. These AI-powered systems dramatically improve hit rates compared to traditional zone AF.
Real-World Tips for Action Photography
Pre-focus on a known location. If you know where the action will happen — the finish line of a race, the spot where a skateboarder lands — switch to single AF, lock focus on that spot, then switch to manual focus to hold it. When the subject arrives, your shutter response is instant because the lens is already focused.
Understand your camera’s buffer depth. Burst shooting fills your camera’s memory buffer. Once the buffer is full, the camera slows or stops shooting until data is written to the card. The Sony A9 III shoots 120 frames per second but needs a fast CFexpress Type A card to sustain it. The Canon EOS R7 manages around 30 RAW frames before slowing. Know your camera’s limits and use shorter, timed bursts rather than holding the shutter down continuously.
Shoot in RAW for action in difficult light. Indoor sports arenas and evening events often have mixed or artificial lighting that produces odd color casts. RAW files let you correct white balance and recover shadows or highlights far more effectively than JPEGs. The file size penalty is worth it for important action shots.
Use back-button focus. Separating focus activation from the shutter button (assigning AF to a rear button like AF-ON) gives you independent control over when the camera focuses. This is particularly useful in action photography because you can pre-focus, release the button to lock, then fire the shutter freely. Nearly all modern cameras from Canon, Nikon, Sony, and Fujifilm support back-button AF configuration.
Position yourself with the light behind you. Autofocus systems perform best when the subject is well-lit. Shooting into the sun (backlit subjects) forces the AF system to work harder and often reduces accuracy. When possible, position yourself so the light falls on the front of the subject.
Frequently Asked Questions
What shutter speed do I need to freeze a bird in flight? For most birds, 1/2000s to 1/4000s freezes wing motion completely. Larger, slower birds like herons or eagles may be sharp at 1/1000s, while small, fast-winged birds like hummingbirds require 1/4000s or faster. Start at 1/2500s as a safe default and check your results at 100 percent zoom. Use Shutter Priority mode with Auto ISO (capped at ISO 3200 to 6400 depending on your camera) so the camera handles the exposure while you concentrate on tracking.
Is Shutter Priority or Manual mode better for action photography? Shutter Priority (S or Tv) is ideal for outdoor action where light changes as clouds pass or subjects move between sun and shade. It locks your shutter speed while the camera adjusts aperture and ISO automatically. Manual mode is better for controlled environments with consistent lighting, like indoor arenas or studio setups, where you want identical exposure across every frame. Many sports professionals use Manual mode with Auto ISO as a hybrid approach — they set aperture and shutter speed, and let ISO float to maintain exposure.
How do I get a blurred background behind a moving subject without panning? Use a long focal length (200mm or more) and the widest available aperture (f/2.8 to f/4). The combination of telephoto compression and shallow depth of field turns the background into smooth bokeh while a fast shutter speed keeps the subject sharp. A 70-200mm f/2.8 lens at 200mm and f/2.8 produces significant background blur even when the background is only a few meters behind the subject.
You might also like
How to Take Sharp Photos Every Time
Eliminate blurry shots with proven focus techniques, shutter speed rules, tripod use, and back-button focus for consistently sharp images.
How to Photograph Pets and Animals Like a Pro
Get sharp, expressive pet photos with tips on eye-level shooting, burst mode, lighting, action shots, and patience techniques.
How to Shoot Silhouettes: A Step-by-Step Guide
Master silhouette photography with backlighting techniques, exposure metering tips, subject selection, and creative composition ideas.